
Blocking socks without sock blockers
What do you do if you want to gift a pair of your beautifully hand knitted socks and you want them to look their best but you don’t have any sock blockers? It’s perfectly possible to do that and this post is all about blocking socks without sock blockers.
Blocking is when you stretch and shape your finished socks (or another project) to make the stitches more even and to show patterns to their best advantage. There’s debate about whether blocking is actually necessary for socks or not, and if they’re just for you or someone close who will want to wear them straight away then the answer is probably not, but if they’re being gifted or photographed then blocking will help them to look their best, especially with a lace or other pattern that needs to be shown off.
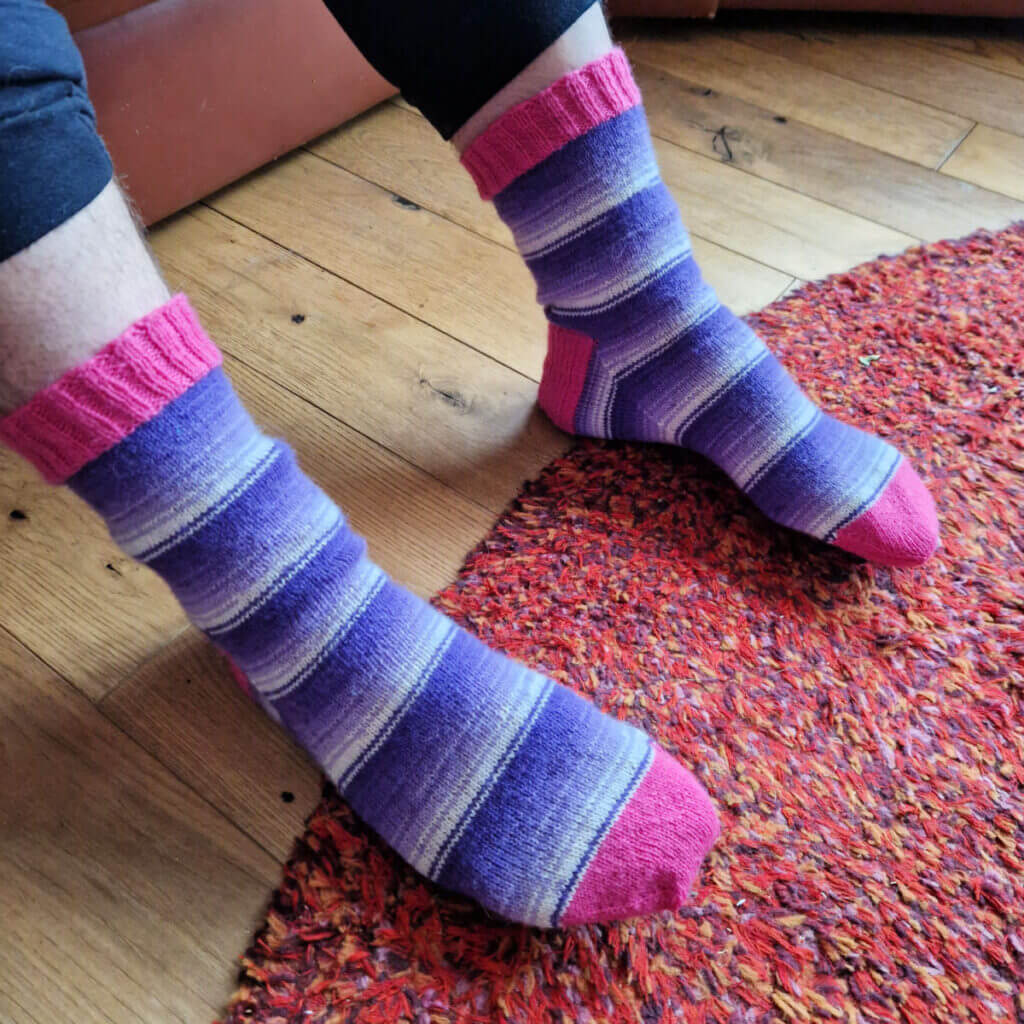
If you’ve been following the blog this year, you’ll know that I gave big daughter’s boyfriend an IOU for a pair of socks at Christmas – IOUs are a great way to let someone know that their socks (or whatever you want to make for them) are coming but takes all the pressure off you to get them finished, especially around Christmas or times when there are so many other demands on the 24 hours that you have in the day. In our case, the IOU meant that big daughter’s boyfriend could choose his own colours (yep, that pink/purple combo is all his choice!) and he was thrilled to know that a pair of socks in his size (UK 14) were on the way. There’s a fun IOU on the blog here if you want to do the same for your family or friends.
I knitted the socks during the Winter Haven KAL weeks of January and they became known as the Ginormous Socks because they were … well, ginormous! They started with a cast on 84sts and went down to 76sts on the foot; he plays American Football and you’ll know those guys are pretty well built!
What it did mean, though, was that when I was finally ready to hand them over and I wanted to block them so that they looked their best for gifting, my sock blockers weren’t the right size. Did I need to block them as we know him very well and he’s part of the furniture at our house? Well, no, not really and socks block perfectly well on feet, but it does even out the stitches and makes them look much more professional than something that’s come straight off your needles.
Let’s have a look at what I did – now, I do need to tell you that this is my method of blocking socks without blockers and you may have a different way, but it’s somewhere to start if you’ve never done this before.
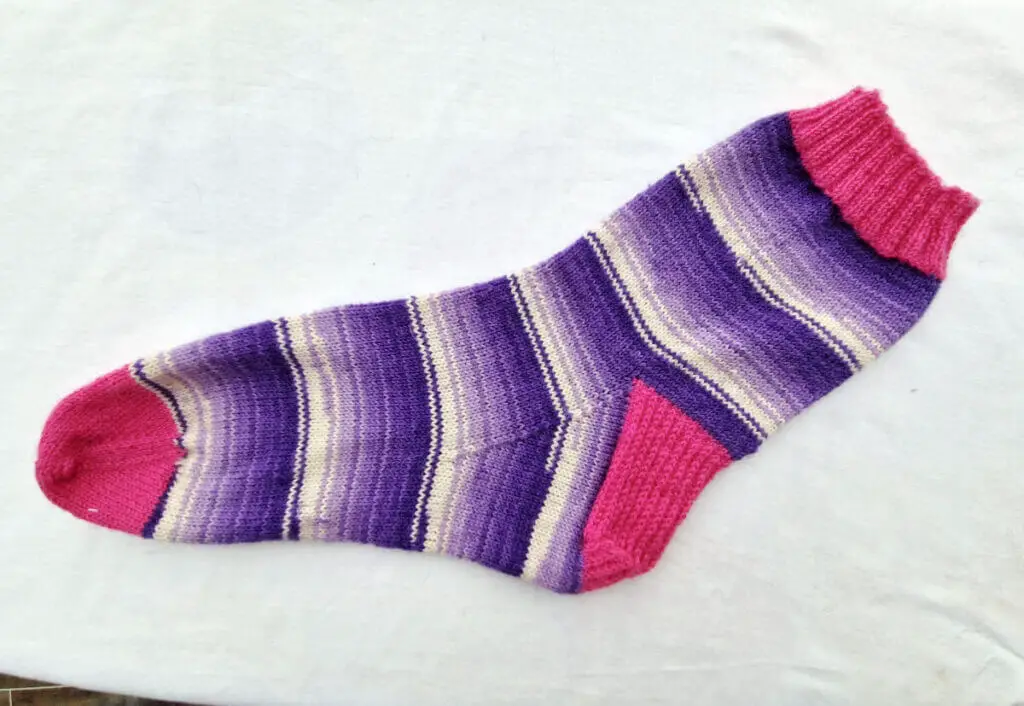
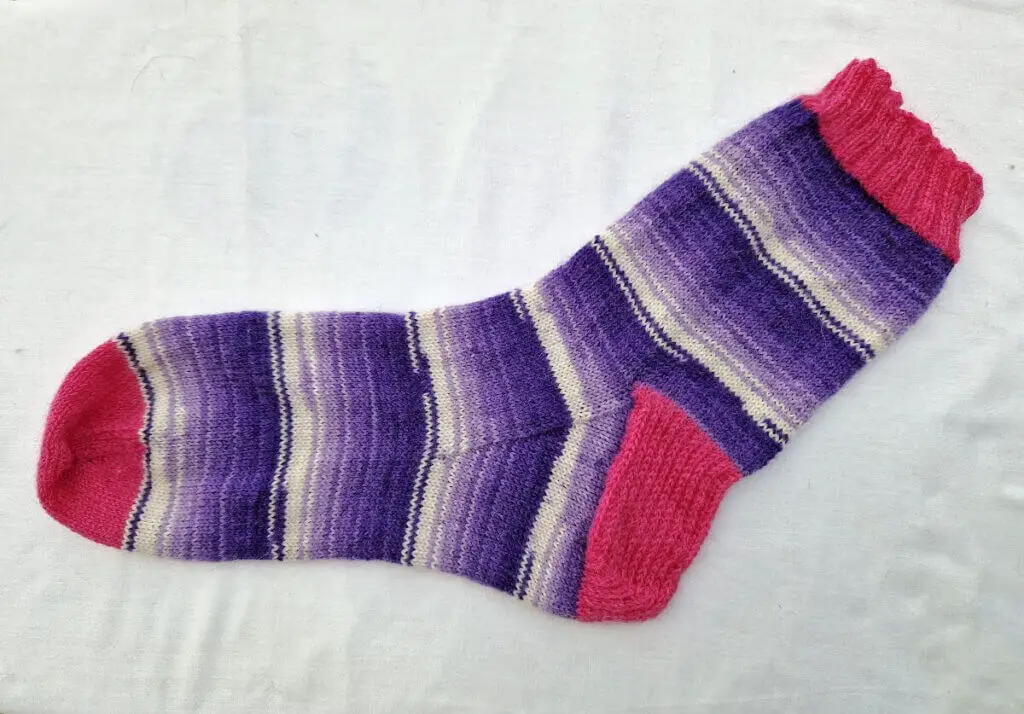
Here are my unblocked socks …
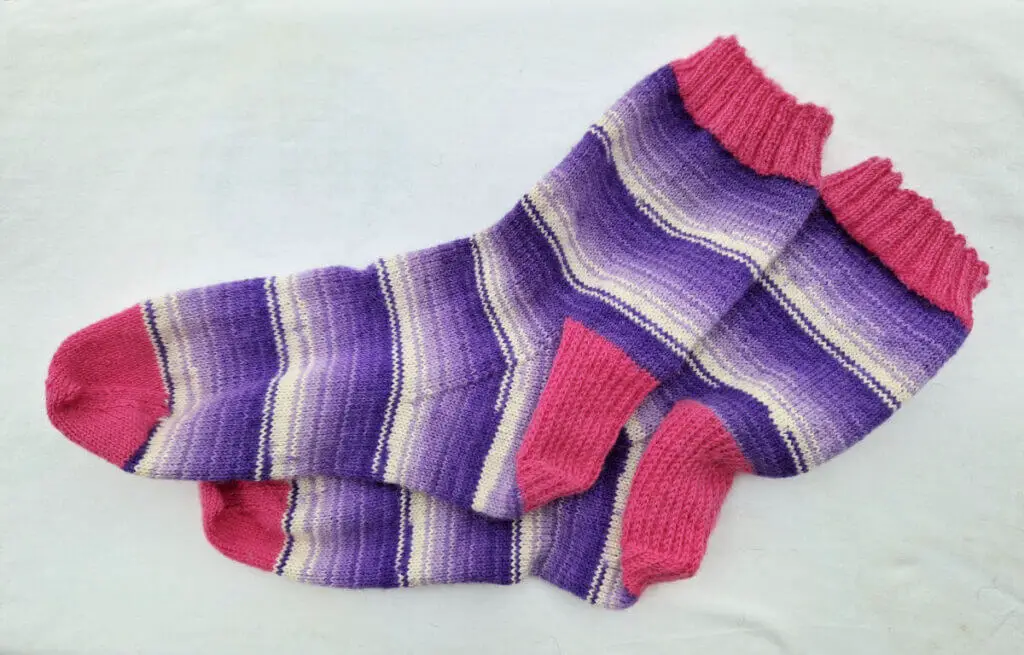
They don’t actually look that bad, do they, but they do look as if they’ve just come off my needles and they’re a bit crumpled in places and I know that I can make them look better.
I use two methods for blocking without blockers – one wet and one dry – and which one you choose depends on how much time you have and also how much your socks have travelled around with you whilst you were knitting it … you might feel that they really need a bath!
Blocking socks without sock blockers – dry method
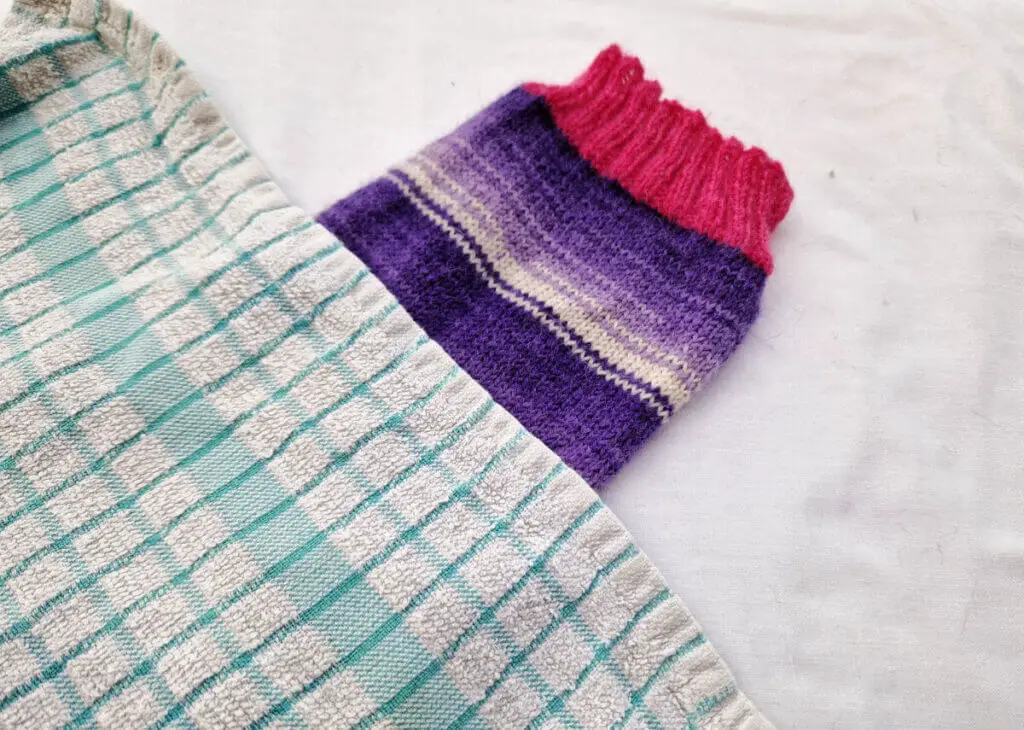
I’m going to show the dry method first. You’ll need a flat surface (I’m using my ironing board), a tea towel and an iron.
The first thing that I do is shape the sock as best I can, making sure that the heel flap is pushed into shape and the toe decrease seams are lined up.
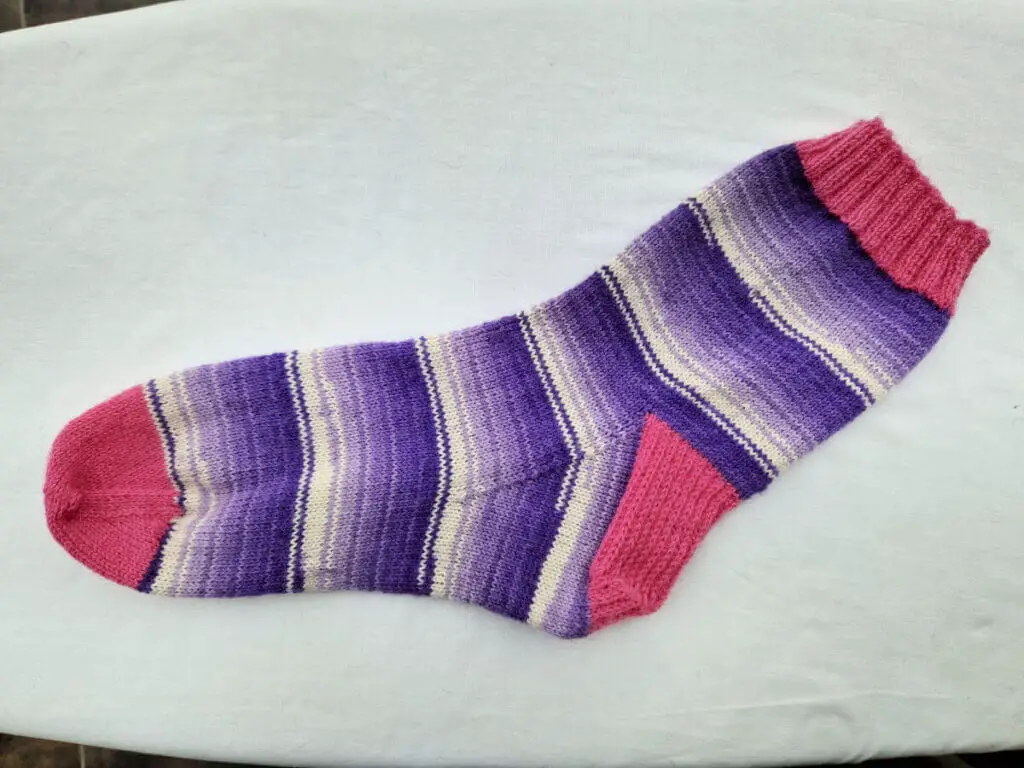
It’s looking better already, isn’t it? You may have noticed that the gusset on this sock doesn’t run central down the side of the sock – that was a deliberate choice when I reduced form 84sts to 76sts at the gusset; I could have moved my markers over to change where the decrease line ran to but this suits the feet wearing the socks.
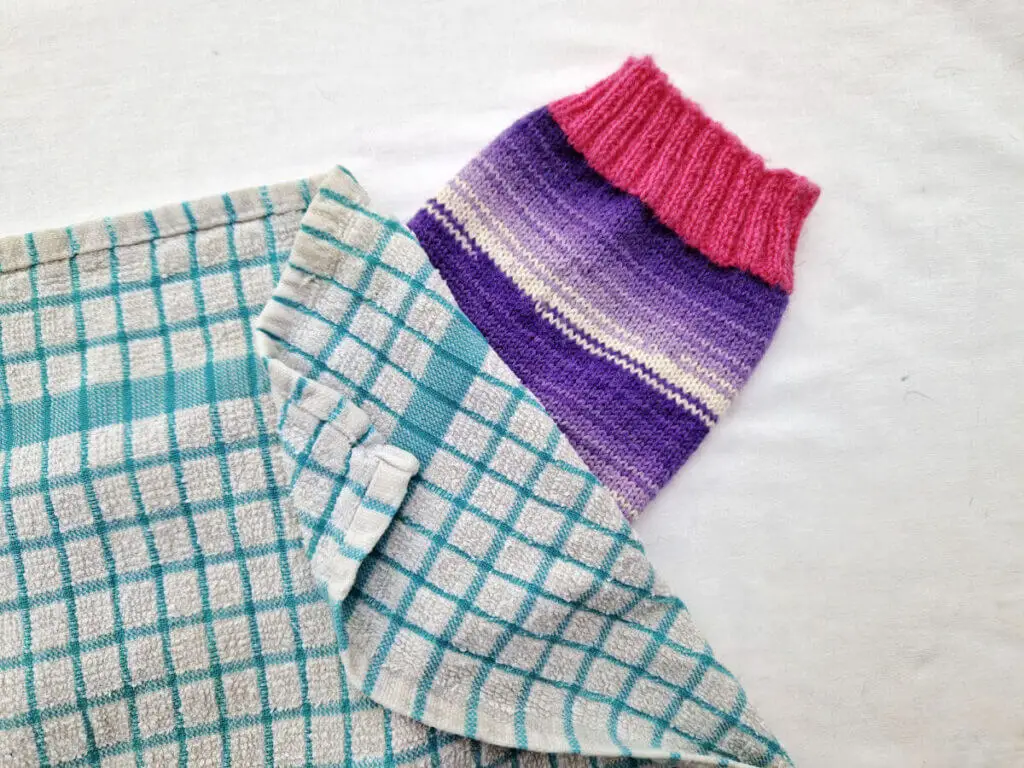
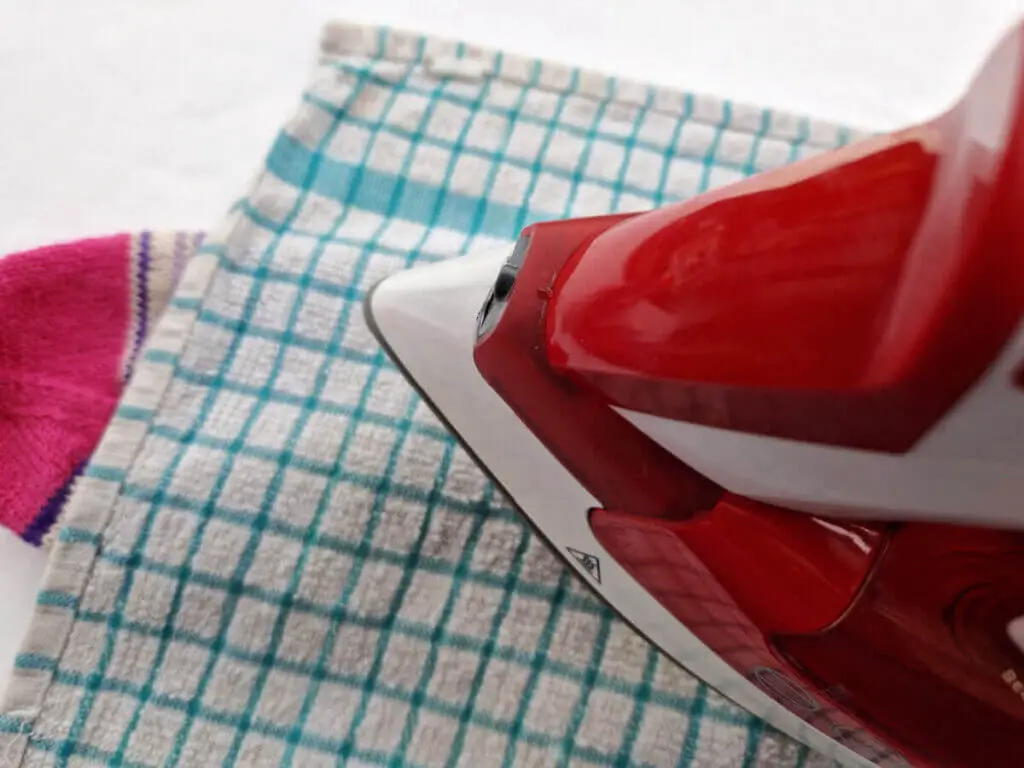
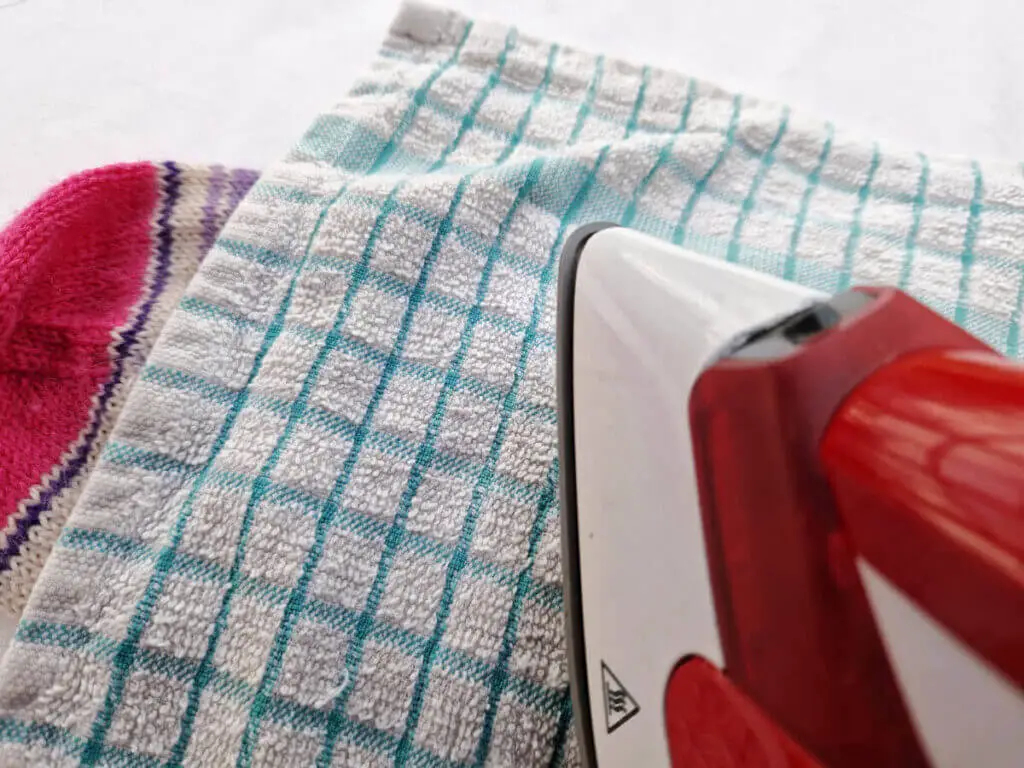
Next, I soak my tea towel and place it over the sock, avoiding the cuff. I’m going to be pressing the socks but I never press the cuffs – I’m not sure that it makes much difference whether you do or not as sock blockers stretch the cuffs out, but it’s something that I’ve always chosen not to do.
My iron is already turned on and it’s on a high heat setting (my iron lives at the “just below top temperature” setting) – this might seem rash but you’re not going to be touching the sock itself and you’re not going to have your iron on the sock for any length of time. The heat will create steam through the wet tea towel which will set the stitches into shape and get rid of any creases.
THIS NEXT BIT IS REALLY IMPORTANT!!
Now that it’s time to press your sock, you’ve got to go lightly. DO NOT PRESS DOWN HARD ON YOUR SOCK. You’re not trying to crush the stitches into submission here, you’re just flattening them lightly into shape and letting the steam from the tea towel do the work for you. It’s better to press and lift in short bursts rather than hold the iron down for any length of time.
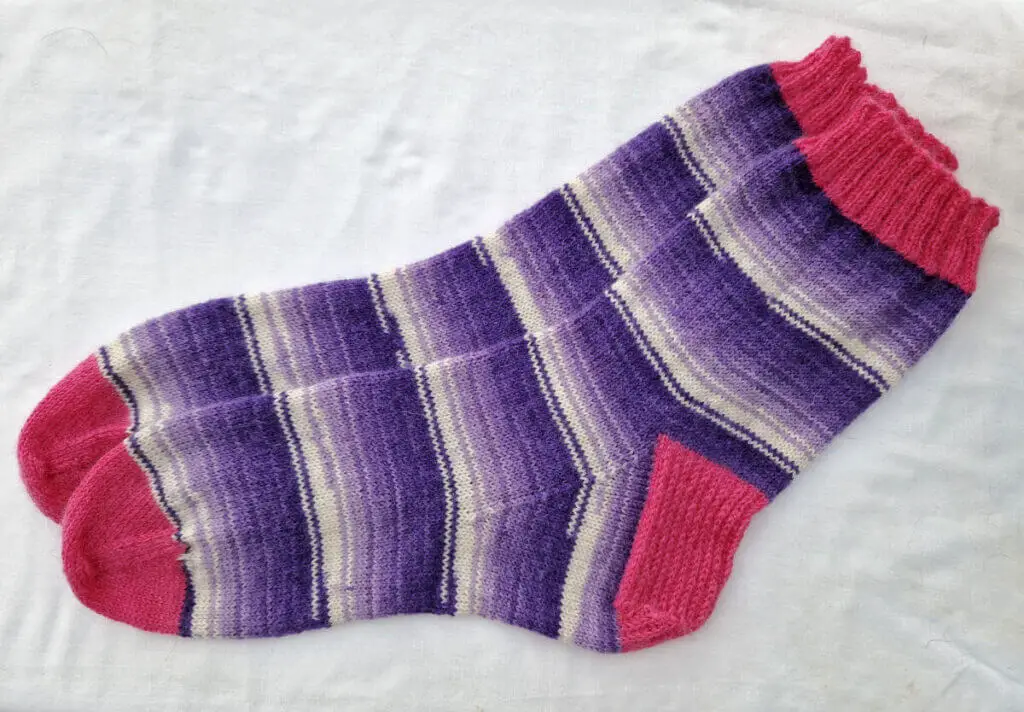
This is the result …
The stitches are more even, the heel flap is sitting flatter and the toes are pushed into shape.
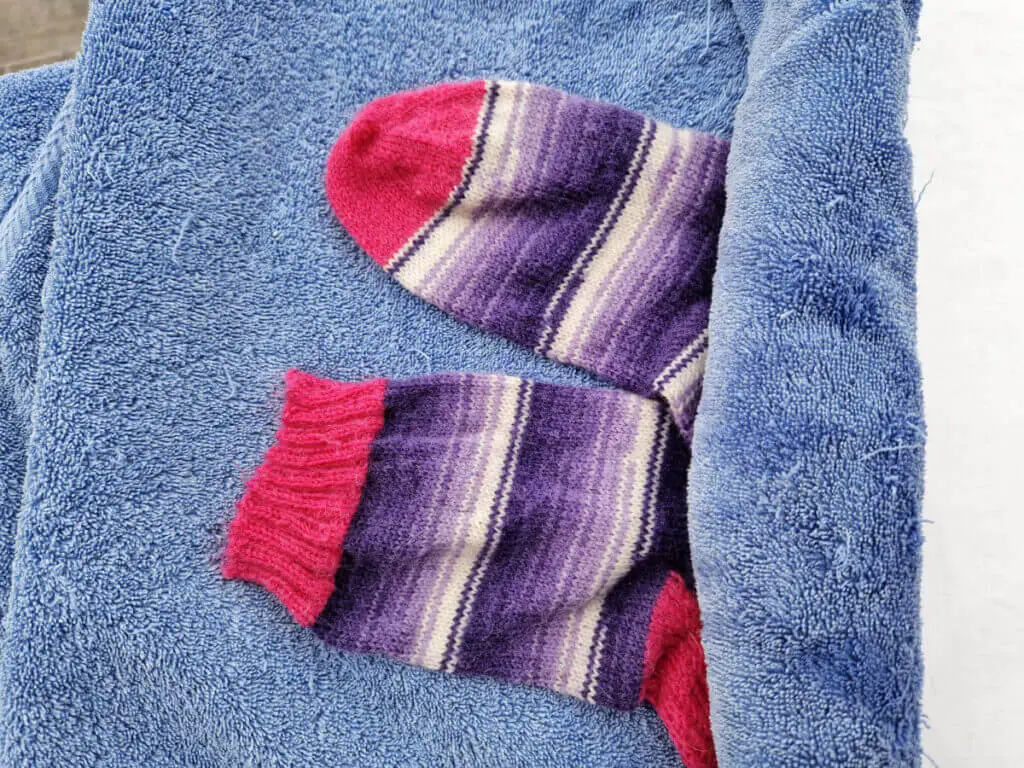
If you’re not sure that you can see any difference, here’s the unblocked sock (top) and the blocked sock (bottom) together …

It’s a bit more obvious now, isn’t it? The bottom sock is now in it’s “proper” shape and whilst it might look a little different to other socks because of the adjustments I’ve made, it fits it’s owner perfectly!
Blocking your socks dry in this way is a really good way to make them look smart within a few minutes, so it really doesn’t take much time out of your day to do this.
Blocking socks without sock blockers – wet method
Now let’s take a look at the other method I use – wet blocking. This method takes a little longer as the socks have to dry, but at least you know that all of the extra pet hairs and dust from carting your socks around with you should have gone! 🙂
You’ll need a sink or washing up bowl, warm water, detergent suitable for wool (I use Woolite, easily obtained from supermarkets, because that’s what I keep in for my delicate laundry, but there are other specialist wool soaks you can use), a towel for drying your socks, a flat surface (I’m using my ironing board), a tea towel and an iron.
Here’s the unblocked pair of socks again …
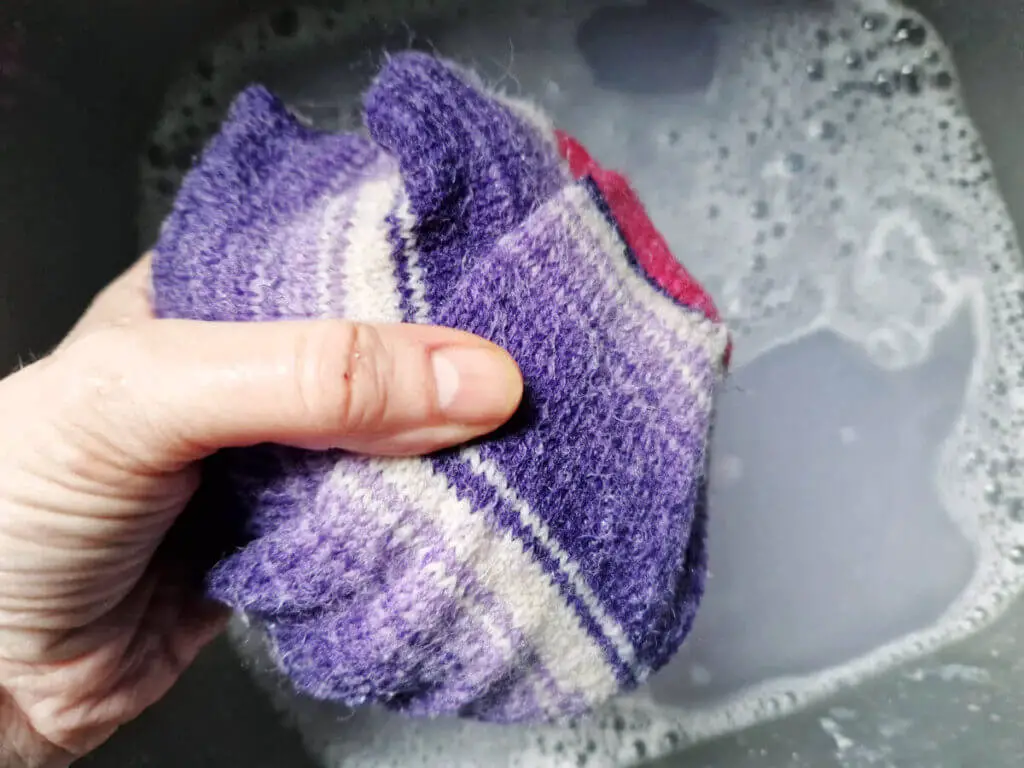
and this time, I’m going to soak the socks for a while – about twenty minutes is a good length of time to make sure that all of the fibres are properly wet.
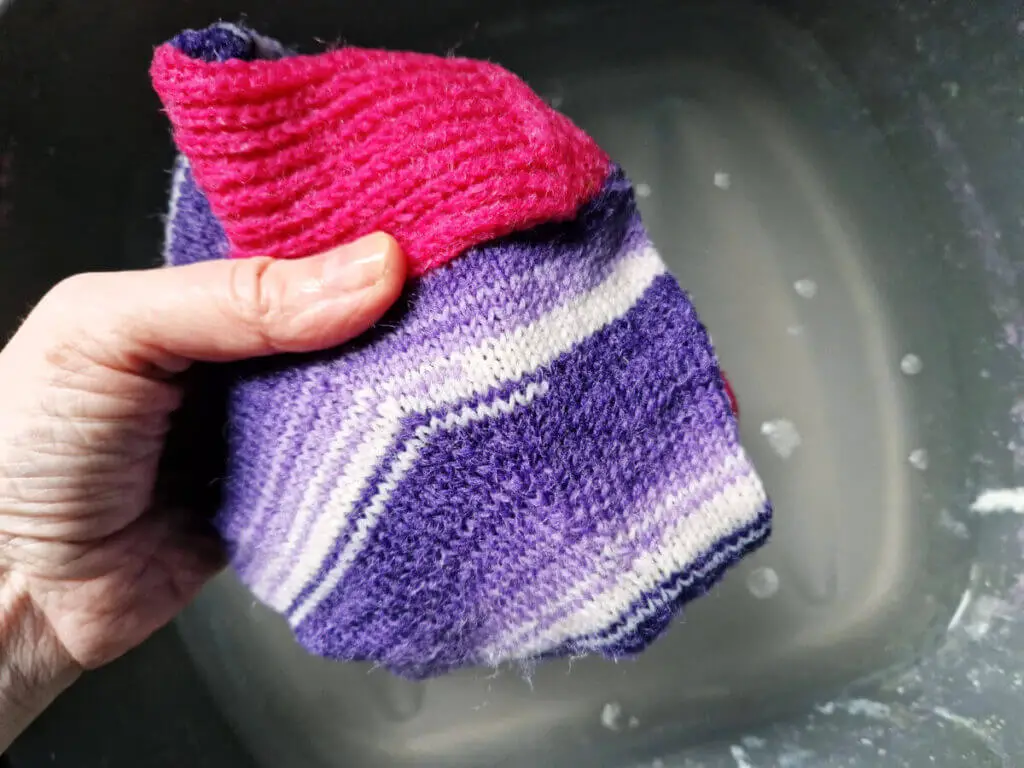
I soak my socks in a washing up bowl of warm water – not too hot, I don’t want my hands to look like lobsters when I take them out of the water; if in doubt, go for cooler than you might usually use – with a small amount of Woolite or other gentle detergent suitable for woollens.

I push the socks right under the water so that all of them is getting wet and leave them for a while. Twenty minutes is a good length of time for a brew … 🙂
Next, I’m going to rinse them. I squeeze the excess water out of my socks by folding them up – never wring them – and giving them a good squeeze …
Then I swish them about in fresh, clean water to get all of the detergent out – again, not too hot, always go for cooler water if in doubt …
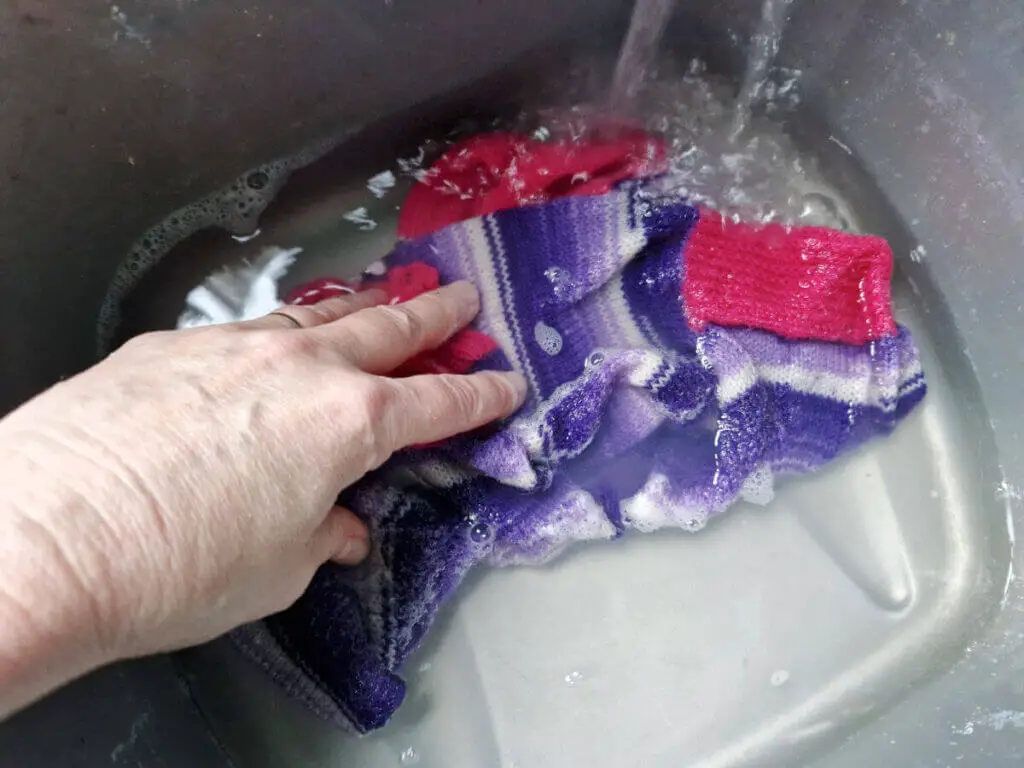
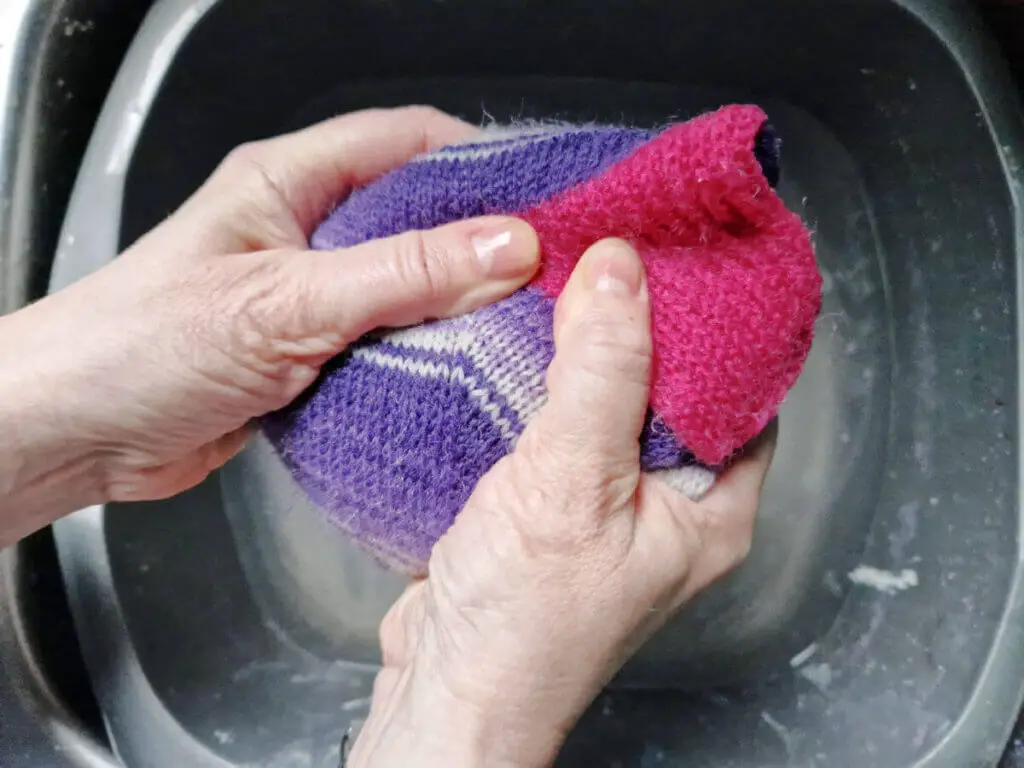
and I give them a really good squeeze to get as much water out of them as possible.
Just like last time, I fold the socks up and then use two hands to squeeze them (it was handy that big daughter was around to take the photo for me!) …
The socks will still be quite wet so this is where the towel comes in. Hopefully you’ve squeezed enough water out of your socks for them not to drip all over the floor as you head to your flat surface and place your socks on your towel …
Now I roll the towel up from one end …
and then give it a good squeeze.

This will take most of the rest of the water out of the socks and they won’t get damaged as they’re safe inside the towel. This is a good way to get the water out of any knitted project that you need to wash, and it will avoid projects being pulled out of shape too.
Now, it’s time to press the socks, much as I did with the dry blocking method, but slightly differently this time as the socks themselves are wet.
I start by gently pulling the sock into shape …
Then cover it with a tea towel – this time, the tea towel is dry because the sock is wet so you don’t need a wet tea towel as well. The tea towel is a protective layer between your iron and your sock so that you don’t damage the fibres with the heat. Again, I don’t bother pressing the cuff so start just below that …
Just as with the dry method, my iron is already turned on and it’s on a high heat setting – remember that you’re not going to be touching the sock itself and you’re not going to have your iron on the sock for any length of time, and you’ve got the protective layer of the tea towel too. The heat will create steam through the wet sock which will set the stitches into shape and get rid of any creases.
THIS NEXT BIT IS REALLY IMPORTANT!!
Now that it’s time to press your sock, you’ve got to go easy. DO NOT PRESS DOWN HARD ON YOUR SOCK. No grinding it into the fabric of your ironing board or taking out your frustrations on your poor sock, thank you very much! Just go lightly, pressing gently and lifting and replacing the iron often rather than holding it down over the sock for the full time that you’re working on it.
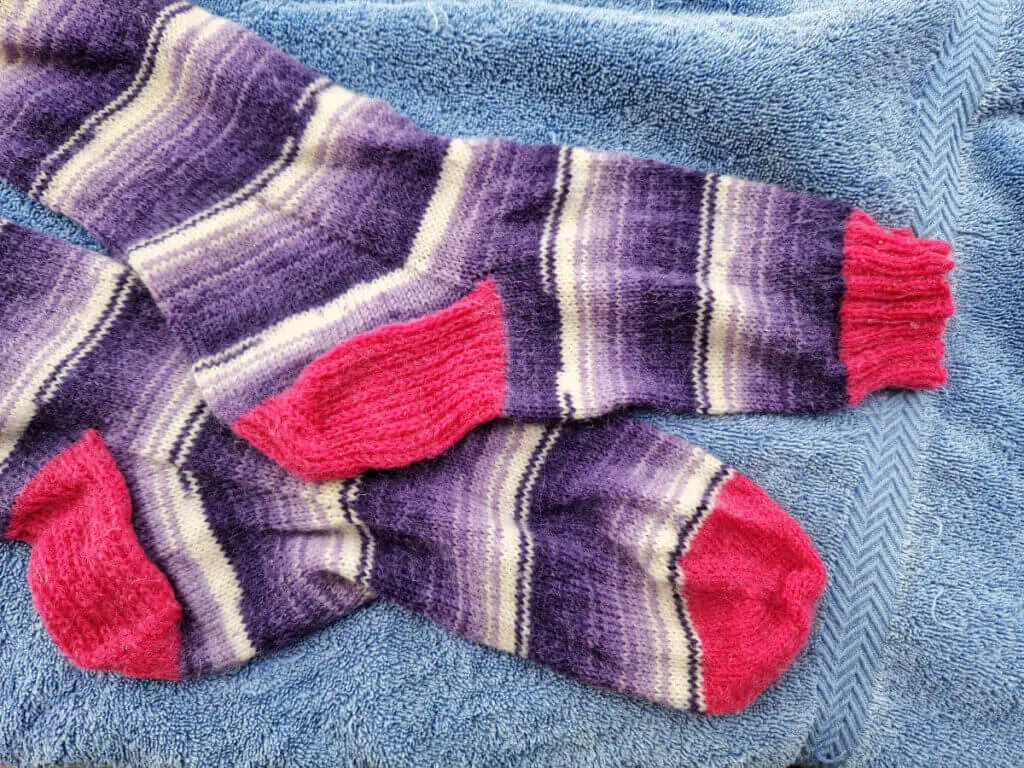
And this is the result. The socks will still be damp at this point, so I lay them somewhere flat to dry away from direct heat.
Compare again with the unblocked socks …
and you can see why it’s worth taking the time to do this if you want to impress someone with your handiwork. To be honest, I think that people should always be impressed with our knitting skills and especially when we knit socks, so anything that we can do to make ourselves look even more like the sock superstars in other people’s eyes that we already know we are, the better!
I hope this has been helpful! Do let me know what you think, and how you get on if you decide to try these methods out for yourself!


Brilliant Christine – thank you so much for the guidance and instructions- I have not been told before – only cover with a wet t towel and leave to dry! On ironing board usually!! it works but I am sure your method is better- appreciated
Love Ruth x
Not necessarily better, just different 🙂 As long as your method works, that’s all you need! xx
I block without the ironing stage, using the same method for a new pair as the regular hand-wash/rinse as you describe. I then shape the socks carefully on a towel before rolling/patting the ‘sausage’, unroll and hey-presto! perfectly ‘blocked’ socks ready for drying off over a rail or rack.
Fabulous! I use the iron as it speeds up the process a bit for me, but there’s no rule that says you have to use it 🙂 xx
Brilliant x I feel your pain ! I always have to knit socks for my Dad .. size 12 it’s like knitting a jumper ! He’s my biggest fan so I’m always making them for him x your patterns have changed my life ! LOL I can now knit socks happily ❤️ and now I can block them and make them look nice for him too ❤️
Yes, give it a go and see what you think! The blocking will only last until the socks are washed but they do look nice for gifting 🙂 xx
Hi, in the dry method section, you have a picture of the two socks after you’ve blocked one. Above the picture you say that the blocked sock is the top one, but below the picture you say that the bottom sock is now in its “proper” shape.
Oh yes, I’ve got them mixed up! I think it’s because I started writing a different sentence and then changed my mind, but I’ve fixed it now. Thanks for spotting it! 🙂 xx
Thanks Christine- you are kind- I am knitting Fair Isle just now! A ginormous Sleeveless top for husband!!!! – socks coming soon – really enjoyed the Kal in January
Love Ruth x
Oh goodness, it sounds like you’ve got a real job on there – thank goodness the top doesn’t need sleeves! 🙂 xx
Thankyou Christine for those details. I have never blocked my knitted socks before as not quiet sure what to do. I am knitting hubby your boot socks. I made one pair and he loved them so much he asked for some more. I didn’t take much persuading !!! Love your blogs, thankyou xxx
Very, very good! I do have sock blockers but don’t like that they stretch out the cuffs. So next time, I will follow your wet instructions. Thank you!
I !enjoy your blog posts. So upbeat and kind Thank you for taking time to write them and do such lovely photos!
BTW, my Lenten Roses (Helleborus) have buds on them, here in western Virginia in the US. Are yours blooming yet?
Christine you’ve basically described and shown us the same method of blocking and pressing that my mum taught me when I was child! The traditional ways are usually the best.
I was probably shown that method by my Mum too, a long time ago! 🙂 xx
Yes, thank you Christine for this very informative post. I’ve also heard of the method of leaving knitted garments wet, cover with a clothe and leave to dry. I’m going to try your wet method when my next pair are off my needles. Like the other comments, I also enjoy your posts and look forward to your weekly updates. There is always something new to learn, and in my case it keeps the old grey matter working. Best wishes from sunny Portugal.
I’ve not heard of leaving a wet garment covered up, but as you say, there’s always something new to learn – knitting is fab when we can share our ideas, isn’t it?! 🙂 xx
I’ve found that if you take that “sausage roll” and put it on the floor and stand on it, you get even more of the moisture out. Then I unroll them and lay them out nicely on a dry towel and they only take a couple of hours to finish drying.
I hadn’t thought about doing that to get more of the moisture out, good idea! 🙂 xx
Thank you for this, Christine. You’ve reminded me that I have half a dozen pairs of handmade socks of mine waiting for a wash and blocking. They’re hanging up drying now!
Brilliant! I’m glad the post was useful! 🙂 xx
I’m like Ruth I just flatten the socks out with my hands and then place a very wet tea towel over them and leave overnight plus however long it takes for it to dry out the next day. I find that a very simple and effective method. I never used to bother but they do look better. Best wishes
That’s great, I’m glad you’ve got a system already! 🙂 xx
Such a helpful post! I’ve just cast off the first of a pair of lacy socks, and have been debating if I should buy sock blockers. I might give your methods a go first!
If you’re blocking lacy socks, you could do with stretching them out to show off the pattern and if you’re not using blockers, either open up the pattern by putting your hand inside your sock or use pins to hold it in shape as you would a shawl or other lacy project. Good luck! 🙂 xx