
Catching up
And then suddenly it was April! Ta dah!
I feel like the months have magically changed months without me even noticing … one day it was March and then before I knew it, it was April and not so small daughter is off on school holidays again – it doesn’t feel like five minutes since the half term break!
I missed chatting to you last weekend so you’ll be pleased (ha!) to know that there’s a backlog of photos to show you and probably even more pleased to know that I am not going to show you all of them today. I was doing something last weekend, not just sitting around on my bottom eating chocolate, but I’ll show you those photos another day 🙂 In the meantime, I wanted to catch up on what I’d been up to at the end of the month so grab a brew and we’ll get started!
I last showed you my Emergency Sock a few weeks ago and it’s grown quite a bit since then. In fact, I’ve finished one of the socks and started the second … this particular “emergency” involved hot chocolate, cake (this is gluten-free lemon cake and is amazingly good!) and chatting to friends at the Stitch Station cafe and whilst you might not consider that to be an emergency at all, it certainly would have been if I’d been knitting anything more complicated as it would have had to have been unravelled when I got home because of all the mistakes I would have made!

I realised when I was looking through my photos that this post is essentially an update on my earlier Catkins and kittens post as I mentioned my Emergency Sock in that post, and also showed you a photo of some very muddy and bedraggled horses in a field.
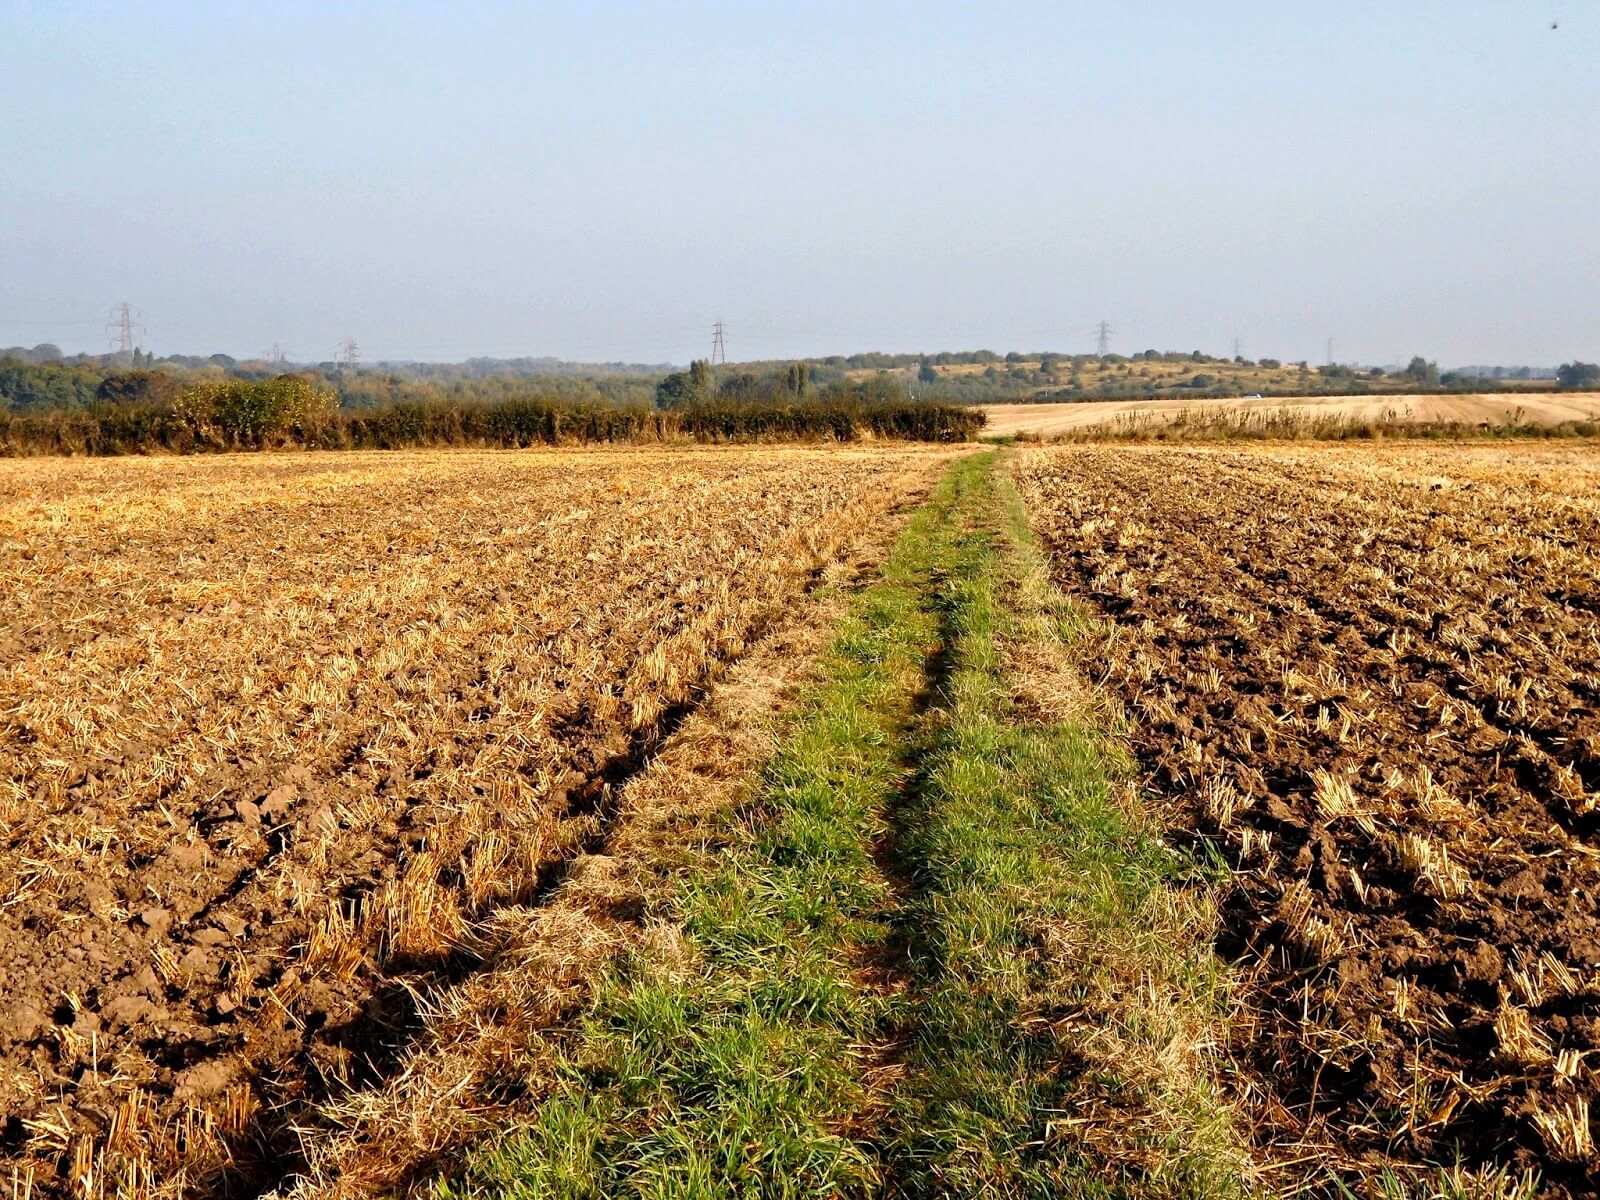
Here they are a week or so later – it had stopped raining and it was surprising how quickly the mud had dried up.


It was such a lovely day for a walk – cold enough to see your breath but with a warmth to the sun that was very welcome.

Despite the improvement in the temperatures (although that all went downhill last week when some places had snow!), I thought I had better finish off my Variance Hat before next Winter.
You may remember that I finished knitting it and finally got round to blocking it the other week. My plan was to put a lining inside it, partly to increase the warmth but mostly because now that I have long hair again and it’s curly, I have been learning how to look after it properly – something that I didn’t need to worry about when it was short and spiky! (If you’re new to the blog, you probably won’t know that I used to have short hair and had done for about 20-odd years until lockdown and then it grew. There was no way I was trusting any of my family with scissors near my hair so it grew and grew, and now I have long curly hair 🙂 )
Anyway, I have learnt that curly hair is naturally drier than straight hair and as wool is a fibre that naturally wicks away moisture (excellent for hot feet but not so good for curly hair), then it’s best to wear hats lined with silk or satin as your curls appreciate that more. Who knew?!
So I bought myself a piece of beautiful recycled sari silk and then looked at it for a long time, reluctant to take my scissors to it in case I cut it wrong. Unravelling yarn is one thing, but cutting fabric in the wrong place is something that I have done before and it didn’t end well. So I looked at the silk for a bit longer until I thought that unless I did something with it, there was no point in having bought it in the first place.

I’ve never tried lining a hat before so I spent quite a bit of time on the internet looking for advice but there wasn’t much in the way of what I needed, although I did learn that I needed to cut on the bias which is something that I probably wouldn’t have done (I am so out of practice with sewing!). When I got started, I thought that it might be useful for me to document what I did so that there was at least something online about sewing a silk lining into a beanie-type hat, but to be honest, I made such a performance out of it that I’m not sure it’s going to be that useful! What I did do, probably for the first time ever, was have a practice run with another piece of fabric and then when that was reasonably successful, I was ready to cut into the silk.
I started by folding the fabric so that it was on the bias and then cutting around the hat shape. I think I left about 2-3cm for seam allowance – I decided to err on the side of caution and not risk having the seam allowance too small so that the lining felt stretched on my head.

Yes, those of you who are regularly to be found with dressmaking scissors in your hands may wonder why the fold is at the bottom and I did wonder that myself once I had cut it out, but it worked and I cut the pieces apart along the bottom instead of having them joined at the side. It just meant I had a seam on either side of the inner lining but it’s fine 🙂
Once I had cut the hat shape, I folded it in half and then half again and cut around the top curve so that I got these “rabbit ears” which would make the lining the same shape as the hat. I found lots of tutorials which simply sewed two flat hat shapes together but I didn’t think that would fit quite so well. I also used practically every pin that I had to try to keep the fabric still as it doesn’t half move about!

Then I sat down at the sewing machine and sewed the outside edges all the way up to the top. Then I opened out the fabric so that the inside V shape you can see above became the outside edge and sewed those too so that I was left with a hat shape. (It’s quite difficult to describe to makes sense when you do it!)

And this is it! It may not look too professional but it fitted on my head and was just the right size to go inside the hat.

Finally, I turned the hat inside out and fitted the lining over it and put a stitch in the centre of the crown to hold the lining to the hat so that I knew that the lining went all the way to the top of the hat, and then I sewed it in place.
It all sounds very simple now but as well as never having lined a hat before, I’ve never sewed with silk either and it’s very slippery! I used lots of pins and tacked the lining in place before sewing it. I realised as I was writing this that I forgot to take a photo of the finished article so my apologies for the night-time sofa shot – but here it is!

I’ll just have to wait until next Winter to try it out but I’m very pleased with my efforts!
There’s still plenty more to tell you from the end of last month but I can see that it would turn this post into something of an epic so I’ll do my best to catch up with you again this week with more of my photos. Until then …! xx


I too have special simple projects for “Knit and Natter”. I had always thought lining a hat would be difficult, acrylic hats make my hair stand on end and wool makes me itch so this gives me hope to knit a beautiful hat like yours
In the end, the hat lining wasn’t quite as difficult as I had thought, it was just slow and the fabric was slippery so I had to take extra care. This is definitely an option for your hats – satin is the alternative but I don’t think that would be any less slippery to work with! 🙂 xx
Your emergency sock yarn is a pretty colour. I like how your lining reaches the bottom of your hat. I have a fleece lined knitted hat, the woolly rib edge lets the wind in your ears. I also have a tight fitted fleece hat with a double layered band around the ears. It’s my beach walking hat with the dog, there’s nothing worse than painful ears. Enjoy your hat.
I was worried about cold ears (far less cold now I have long hair!) so I made sure the lining came down as far as it could without showing under the brim! 🙂 xx
Lining the hat is a brilliant idea – I too have very curly hair and it is getting longer again so I may have to look at my Shetland Wool Week hats – going back to the Baable I have made at least one every year and line them!
I love the photos – the weather is all over the place at the moment -from -5C on Sunday morning then no sooner does it get a bit warmer (10C this morning) it also gets wet and then colder again by the end of the week – oh joy!
You do have curly hair, I remember! It definitely made my hat warmer as well (I had it on last night) so I’m glad I finally got round to it 🙂 xx
Well done, I’m not sure I would have your patience. I just love the pattern of your hat. I’ll have to go back a few posts and find out more. The weather is so cold I’ve a feeling you maybe wearing that hat any day. B x
It’s called the Variance Hat by Janette Budge. It was in the Confident Knitting book from Arnall-Culliford Knitwear but I don’t know if you can still get that as their shop has closed down – it might be worth looking on Ravelry or Janette’s website to see if it’s there if you like it 🙂 xx
Bravo! I will line my next hat. It will save my hair hairline and allow me to wear my hats again.
It really wasn’t as bad as I expected once I got going, so I’d recommend trying it if it means you can have warm ears! 🙂 xx
Christine, that hat is gorgeous! The knitted outer is a work of art, and that sari silk is to die for! I could certainly see a blouse in that, though, like you, I may be somewhat reticent to cut into it!
Thank you! Yes, I don’t see myself making any clothes out of the rest of this silk any time soon! 🙂 xx