
Patchwork Socks – getting started
This tutorial has been a long time coming, but you’ll be pleased to know that the latest in my series of “next step” patterns is finally here! So far in the series have been the Easy Cable and Easy Lace socks, patterns written to help you feel more confident using these techniques and about moving on to try out other patterns. It’s been lovely to see how many people have been inspired to try cables and lace after I posted my tutorials – and to hear how many people haven’t found them nearly as hard as they expected!
So, continuing with the theme of showing you techniques to give the basic Sockalong 4ply sock a bit of pizazz (don’t you just love that word?!), this tutorial is all about using intarsia to incorporate different colours – it’s perfect for leftovers and, as sock knitters, we know all about those, don’t we? 🙂
Intarsia is a method of knitting where you use blocks of colour, wrapping the yarns around each other as you change them so that you don’t get a hole. You’ll perhaps be more familiar with the idea of intarsia through projects like this …
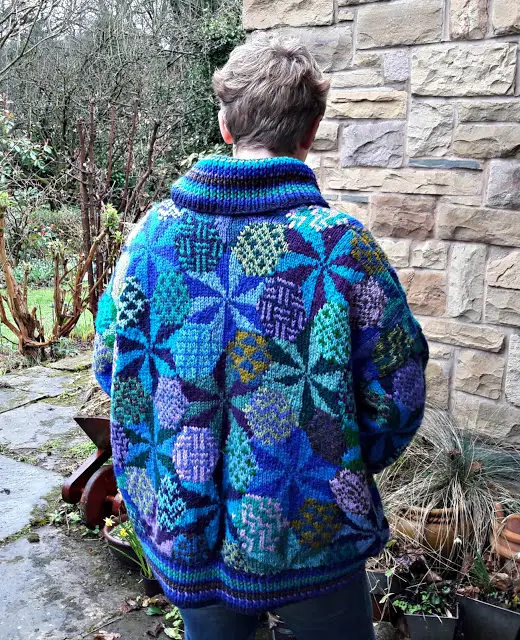
which is my Geometric Star jacket designed by Kaffe Fassett which I wore to a lecture given by him last year. Or how about this?
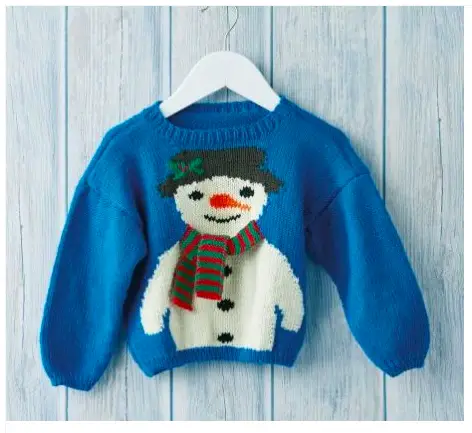
Source: www.letsknit.co.uk/free-knitting-patterns/childs-christmas-jumper
Intarsia is ideal for children’s knitted clothes as it’s easy to add motifs that they will enjoy wearing, from Christmas to pets to well-known children’s characters – it might not be something that you particularly think of in relation to socks, though!
One of the reasons for this is that intarsia is most easily knitted when it’s flat, not in the round as socks are. This is because intarsia is knitted with individual balls of yarn which are not carried across the back of the work like Fair Isle or stranded colourwork. The rows are knitted backwards and forwards, picking up the yarns as you need them, and the yarns are twisted as you come to them so that you don’t get a hole. The simple fact that the yarn is always where you left it, ready to knit on the return row, means that this style of knitting doesn’t lend itself very well to knitting in the round as the yarn will always be at the wrong side of the colour, but you’ll be pleased to know that it’s not impossible – and that it’s a great way to use up yarn leftovers!
There’s absolutely nothing about knitting intarsia that will be new to you if you’ve knitted pretty much any project before, apart from possibly a wrap and turn which is how we’re going to connect the rounds. If you’ve ever knitted short rows then you may well have used a wrap and turn before, but if not, don’t worry because I’m going to show you exactly how I made these socks and how you can make a pair for yourself too.
I’ve had this pattern in mind ever since I saw these gorgeous sea glass-coloured mini skeins from The Little Grey Sheep at Woolfest way back in 2015.

I wanted to create something that used all of the colours but wasn’t as obvious as regular stripes and I knew that it would take some thinking about as it isn’t always easy to do when you’re knitting in the round. But I knew that there would be a solution and there was!
And here are the results. These are my Patchwork Socks, and I love love LOVE them! The yarn I’ve used is a pure wool yarn (one of my no-nylon choices) and as the yarn has bloomed with being washed and blocked, the fibres have blended to make a fabric that looks as if it was made like this. The socks have turned out even better than I hoped, and I am so looking forward to wearing them!

The patchwork runs all around the leg and down the foot, although you could stop at the heel and knit the foot plain if you wanted to. I’ve used the ribbed heel stitch to create the heel flap, changing to one colour as I really loved that shade of blue and wanted to see more of it, but also to make the heel smoother without having joins in it which might have proved to be a weak point. The ribbed heel stitch makes a stretchier heel flap which is great if you find a regular heel stitch heel flap a bit tight on your foot.

I decided not to continue the patchwork pattern under the foot for these socks as I worried that the joins might be just a bit too obvious under my feet, so instead I created stripes to match the yarn I was using at the time. They feel like secret stripes, hidden underneath your foot!

I wanted to use the contrast yarn on the toes, firstly because I loved that colour too, but also because I didn’t want to risk patchwork joins with my pokey toes – but you can make your own choices!

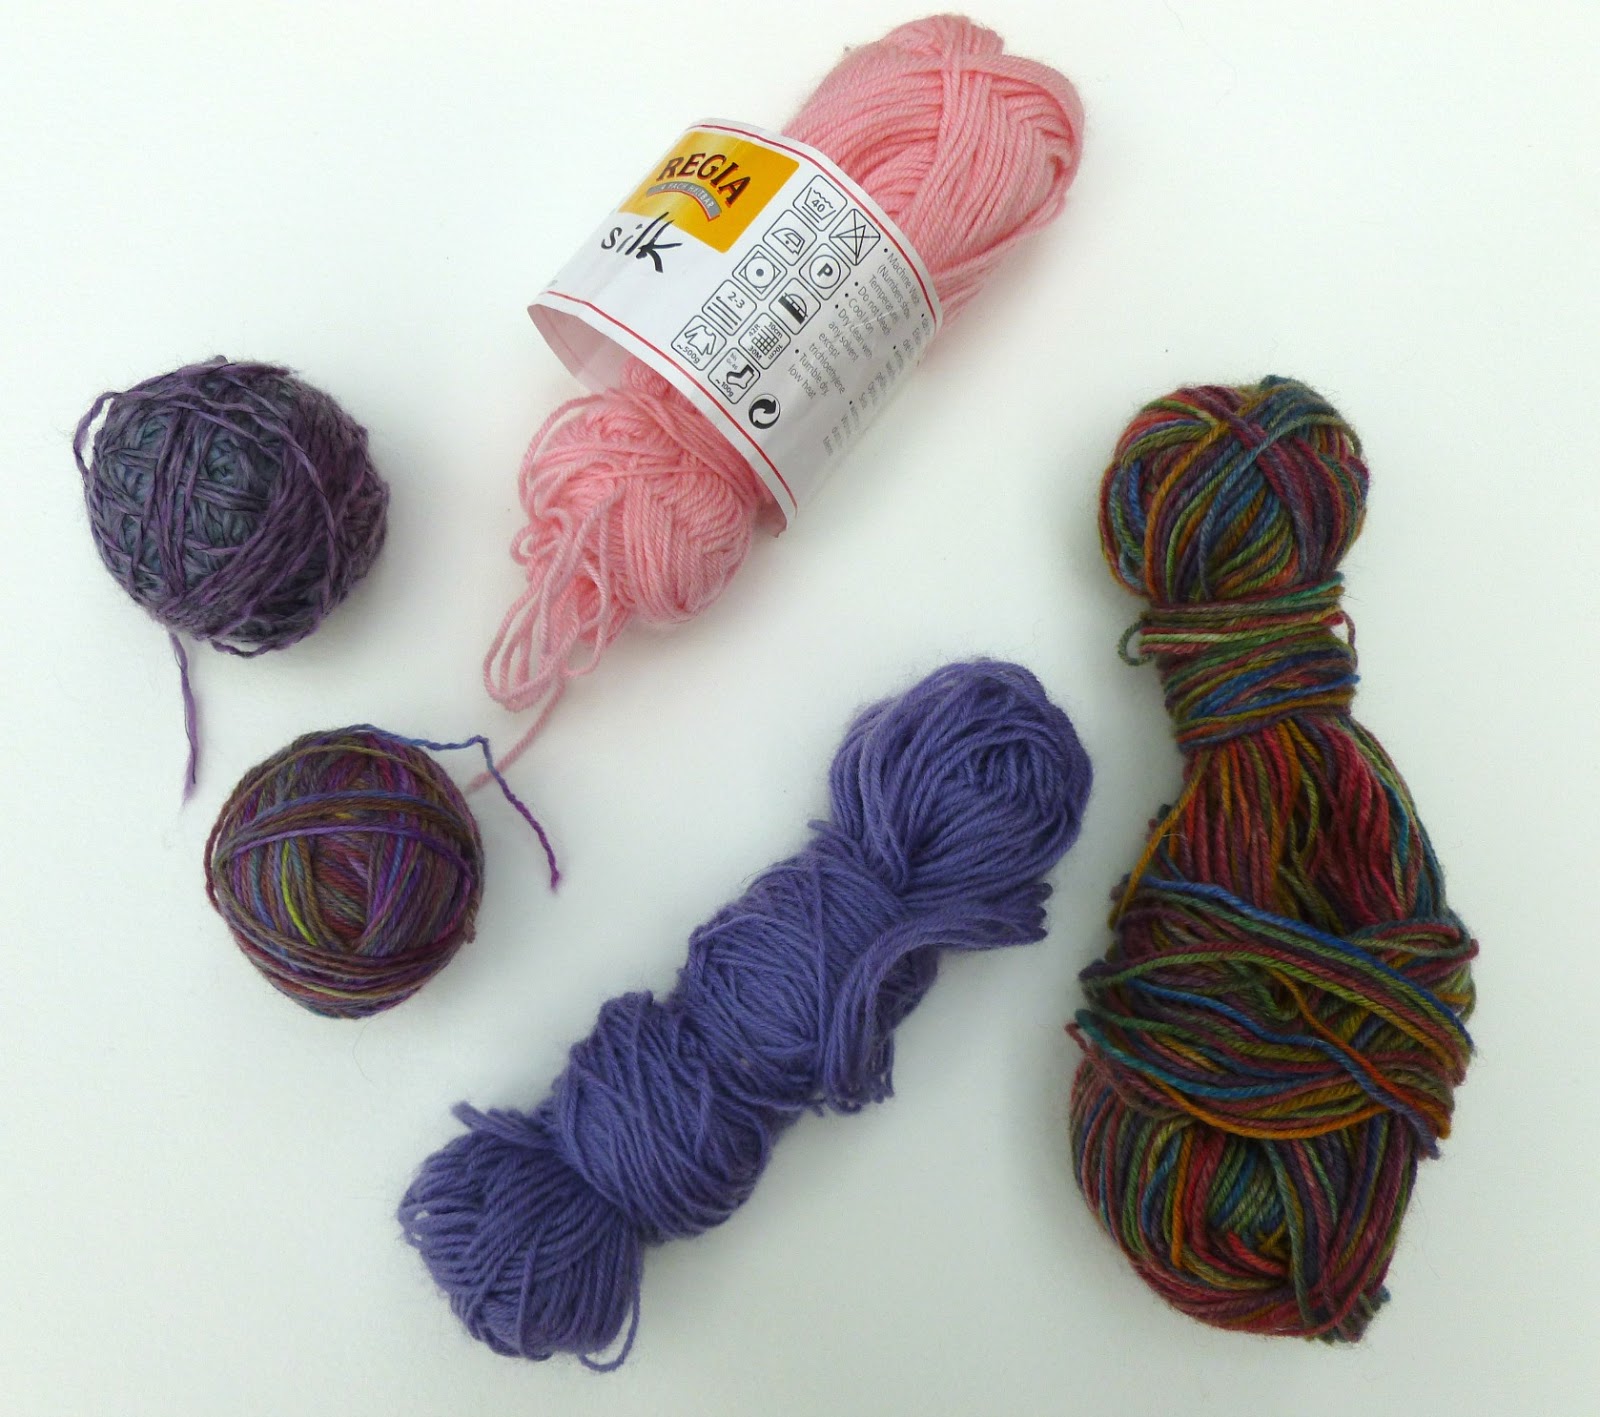
What’s great about this pattern is that it isn’t just for wool yarns, it’s also just the thing for leftovers as you only need small pieces of yarn to make the shapes. You can weigh your leftovers to make sure you’ve got enough – if you have 100g of leftovers then you’ll know you have plenty – and if you run out, you can always add another colour in and nobody would know it wasn’t deliberate! Just so that you can see, I made another sock with leftover commercial sock yarns – these yarns are Regia, Rowan, Arucania, Cygnet and Trekking XXL.
This sock has a different texture – smoother and less woolly – but is still a unique sock that was fun to knit and will be fun to wear (if I ever get round to making the second one 🙂 ). Any of my patterns can become ankle socks simply by omitting the leg section and working a short cuff before starting the heel. I chose to knit the first four rounds on this sock to create a rolled cuff followed by six rounds of ribbing, something that’s also useful to do if you are ever knitting for someone who can’t tolerate tight cuffs around their calves (although if you knit longer socks, you will need some ribbing as well or the socks will fall down!).

This is what the sock looks like if you continue the patchwork under the foot – I think it looks fabulous but I did worry that I’d feel the joins on an everyday pair. (And no prizes for spotting that I haven’t sewed up the gap in the cuff 🙂 )

These are such happy socks! They’re an opportunity for you to let your imagination run, to put colours together that blend beautifully or clash wildly depending on your style, and they’re much easier to knit than you might ever imagine. Tempted? I hoped you would be!
The main tutorial will have the pattern both online and in downloadable PDF form, lots of photos and also video clips to help you get to grips with intarsia in the round. I’ll be posting all of that tomorrow, but in the meantime, I’ve tried to answer some of the questions I thought you might ask. If I’ve forgotten anything, do let me know in the comments!
What size are your socks going to be and can I change it?
The sock will be based on my usual size (my UK size 5 foot) but it’s easy to adjust that to fit your own foot. Don’t forget that the size of a sock is based on the width of your foot, not the length, so I recommend that you look at the sock stitch calculation in the Sockalong tutorials which will help you work out the size based on the width of your own feet. You can also try your sock on during the knitting process to make sure it’s comfortable.
Can I use any yarn for these socks?
Yes. The pattern is written for 4ply yarn so any 4ply should work, although I always recommend a quick tension swatch just to be sure that your size will work out right.
I’ve chosen to use 5 mini skeins of The Little Grey Sheep Stein Fine 4ply yarn but you can use any leftovers that you choose – if you weigh your leftovers you’ll get an idea of how much you have before you start to put them into a colour scheme so that you’ll know that you won’t run out. I used almost the whole of the 20g pale turquoise skein but there was yarn left over from the others. Yarns with more wool content will blend together more than others so that the lines between the patches blur a little, making them look as if they are one continuous piece of fabric.
There’s no reason why you can’t adapt the pattern to different yarn weights either – don’t forget that there are 6ply and 8ply (DK) patterns right here on the blog that you can transfer the patchwork technique to.
Your socks aren’t matching – won’t that turn you into a twitching mess?
It’s no secret that my socks have to match and I will spend an inordinate length of time making sure that they do – but there’s something about these socks that bypasses my over-developed sense of symmetry and I am absolutely fine with them not matching. I think it’s because they are shapes and not stripes, and the colours are the same for both socks. Having contrast cuffs, heels and toes helps too, so if you’re like me and usually need your socks to be identical then you might also find that you can cope with these.
I’ve never knitted intarsia before, will I be able to do it?
Yes! All you’re going to be doing is knitting, purling and creating a wrap by wrapping the yarn around a stitch and then knitting it later. Other than that, there’s nothing about this sock that you haven’t already done before, especially if you’ve already knitted a basic sock. If you’ve never knitted a sock before but this one particularly calls to you, don’t worry – just use the Sockalong tutorials alongside this new tutorial and the videos and you should be just fine.
Can I adjust the size of the patchwork blocks for a bigger or smaller sock?
Yes! The size of the patchwork blocks are entirely up to you so you can make them as big or as small as you want to, although my experience is that the patchwork shows up better if you don’t make the blocks too small.
Can I continue the patchwork pattern down to the toe decreases?
Yes of course, if you want to! You can carry it under the foot too, if you like, although I chose not to do that. I decided to stop the patchwork pattern at the toe decreases because I have pokey toes and wanted to be sure I wasn’t going to poke my way through a patch, but you can take your pick how you want your socks to look.
Right then! I think that’s everything for now … I hope that’s been useful as background information and tomorrow I’ll share the pattern with you. Do ask if you’ve got any questions, but I hope that now you’re all ready to grab your yarn and needles and prepare to cast on!


This looks really exciting! I have loads of leftover 4ply which needs using up so this will be perfect 🙂
They're great for leftovers but don't use quite as much as you might think so you should get plenty of pairs made! 🙂 xx
Can't wait to try this pattern
Thank you! xx
They look amazing. Really excited to try this!
That'll be fab, I'll look forward to seeing your socks! xx
I love the pattern and want to try the technique, but where is the pattern?
It's my latest blog post published this morning – this is the "getting started" post so that you can see what's coming up xx
Thanks, I now see the new post with the pattern. I can't wait to get started.
Oh good, glad you've found it! 🙂 xx
I'm only on my first ever pair of socks but when i get more scraps i will be making these too.
Excellent! The more socks you make, the more scraps you'll have! 🙂 xx