Watercress Leaves Socks – free pattern and tutorial
As you’ll know from earlier posts, I love knitting socks, but sometimes it’s not as straightforward as you’d expect. Have you ever had a ball of yarn that just can’t decide what it wants...

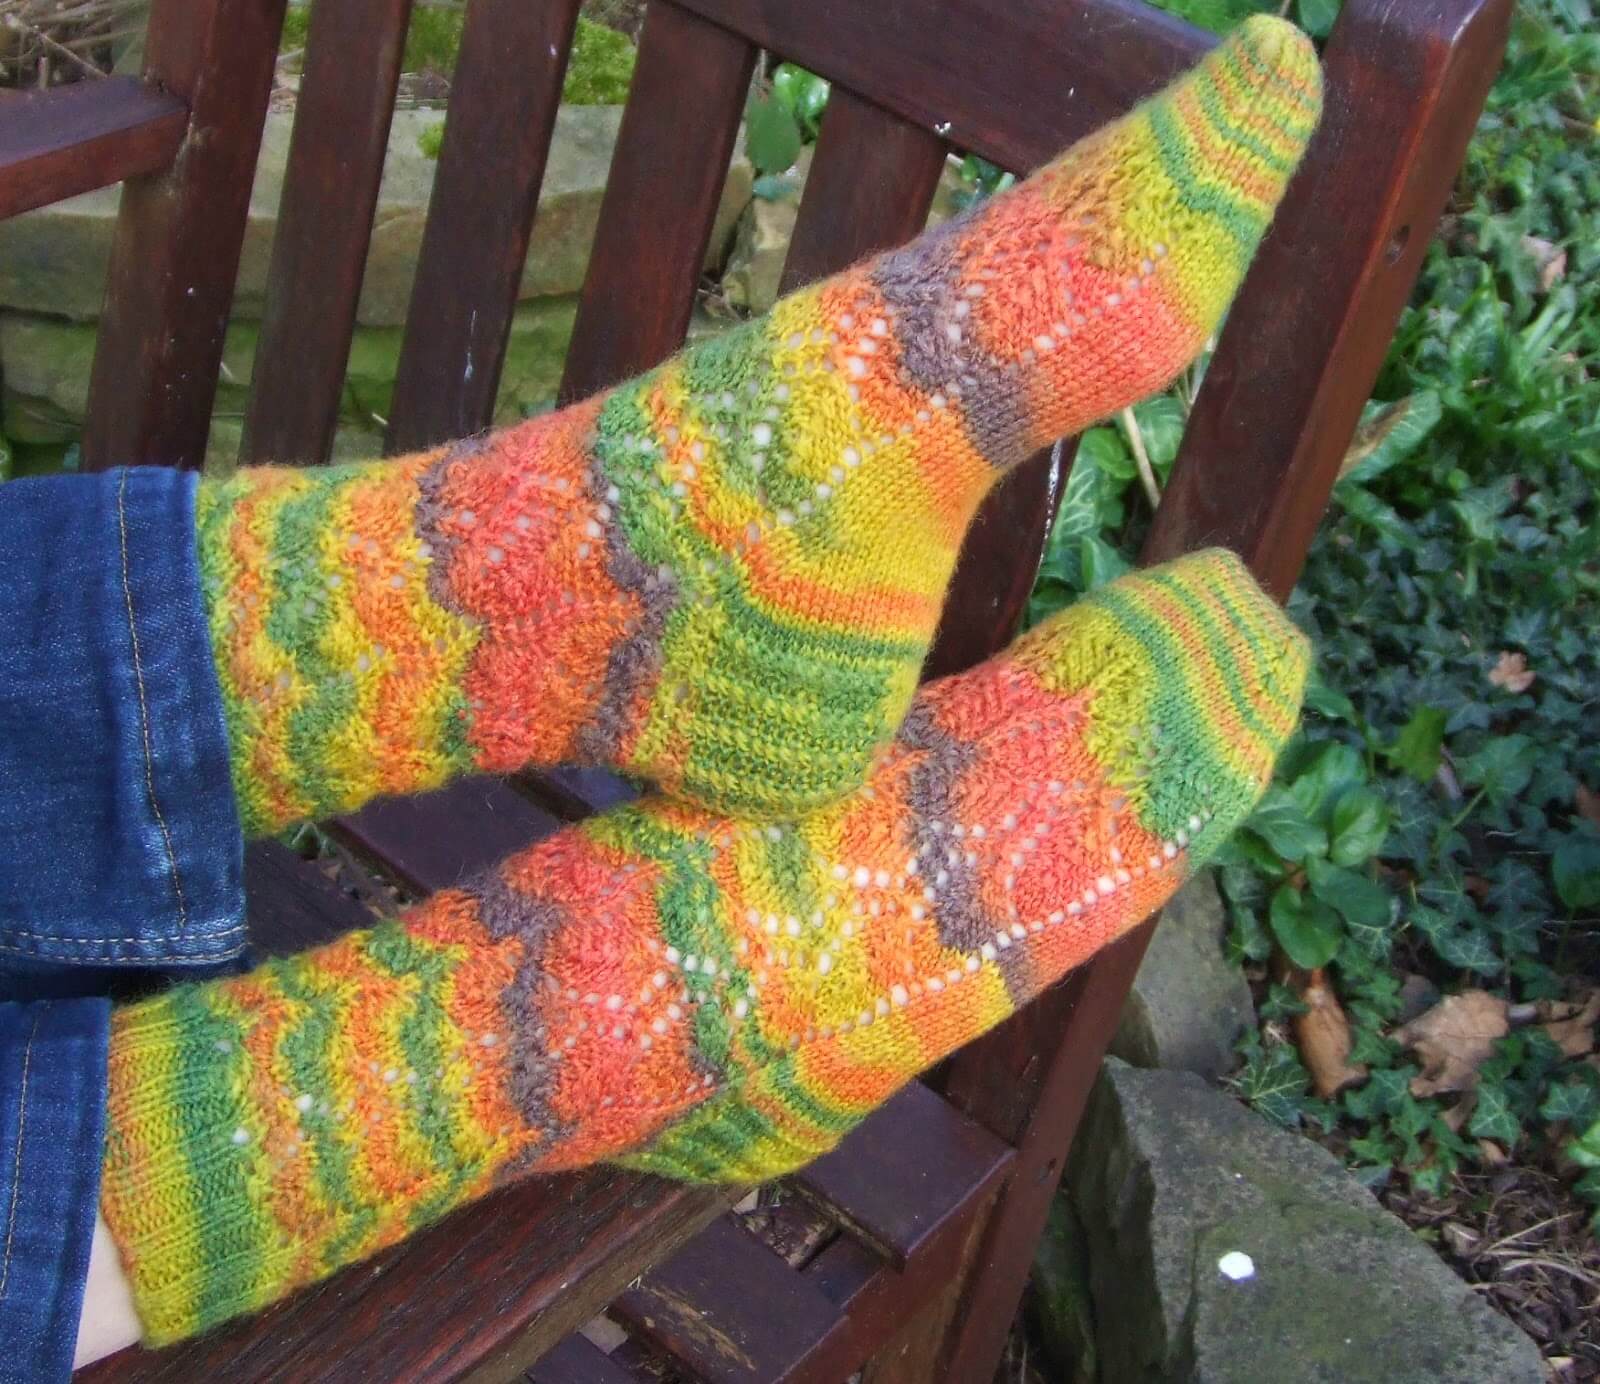
As you’ll know from earlier posts, I love knitting socks, but sometimes it’s not as straightforward as you’d expect. Have you ever had a ball of yarn that just can’t decide what it wants...

We were able to catch up with my brother and his wife in Derbyshire again yesterday, and after a slight detour thanks to my Dad’s satnav, found ourselves in Ashover. We’ve never been there...

This week, we have had lots of weather. No rain, thankfully, there’s been quite enough of that recently, but the weather that we have had has reminded me more than once that although spring...
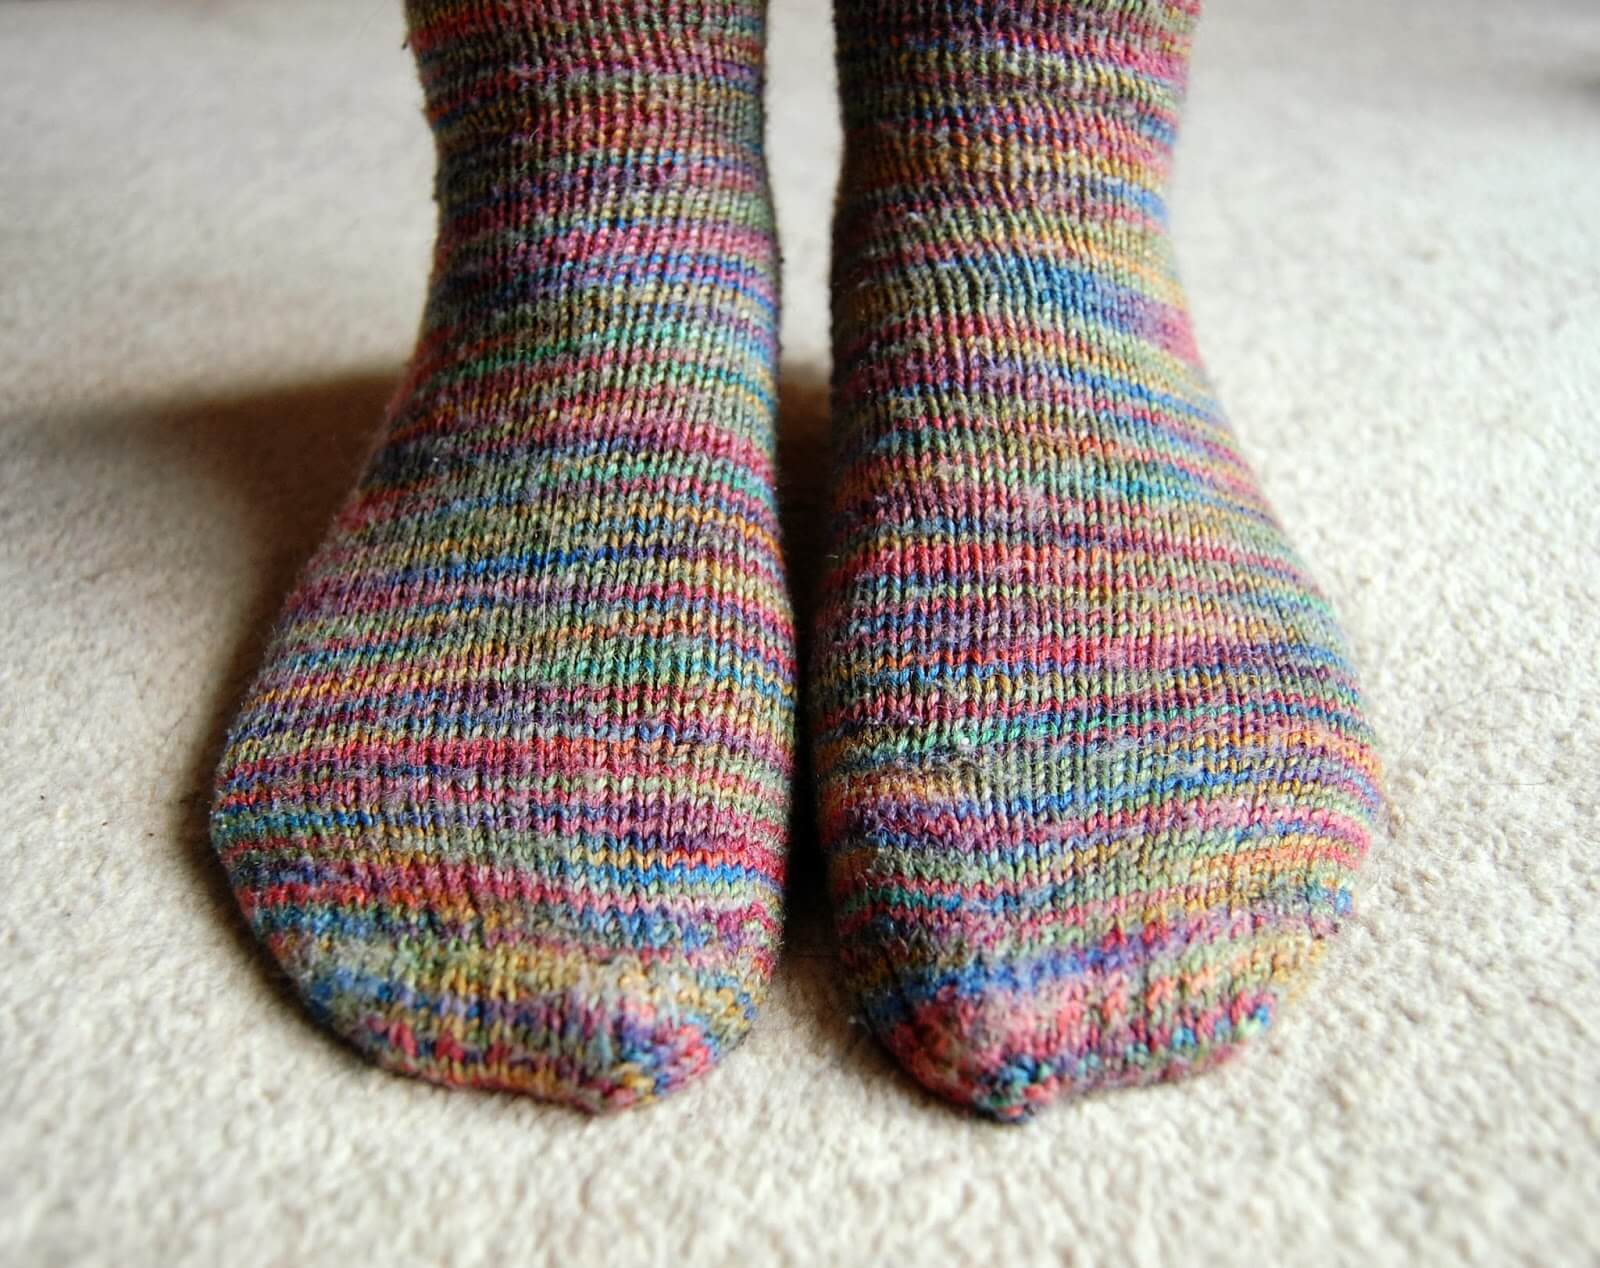
I love hand-knitted socks. I love knitting them and I love wearing them. I love the round and round simplicity of plain socks and I love the concentration required for making complicated lacy, patterned...

It was another beautiful day here in Winwick yesterday, so I made the most of the afternoon and got outside to do some more work in the garden. I did some tidying up with small...
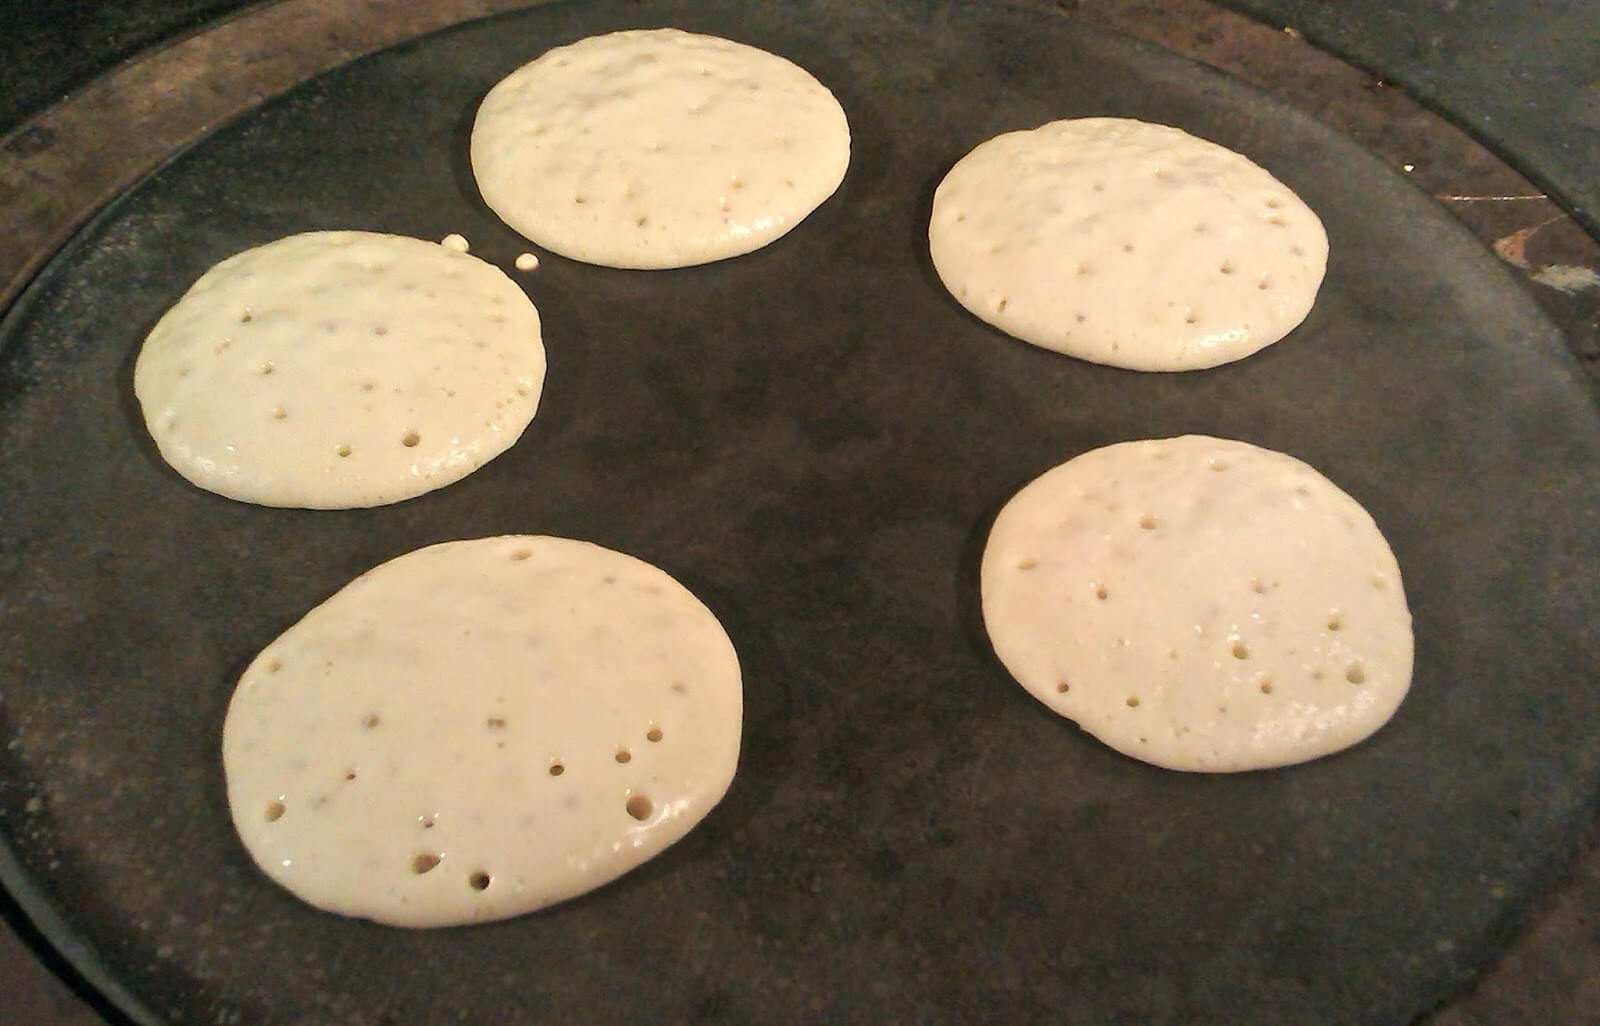
We usually manage to rustle up a pancake or two on Shrove Tuesday, but today we’ve gone for the full hit – Scotch pancakes for breakfast and pancakes after dinner as well! Scotch pancakes...