Paint a Moment kit review
#Ad – PR product
I had to turn the lights on at 7pm last night – have you noticed that it seems to get darker quicker than it seemed to get lighter in the summer? Admittedly, it had started to get a bit wild and stormy last night so it did get darker earlier, but still – 7pm!
This very obvious change as we head through autumn – and given the amount of Christmas products in the shops already (it’s not even been Hallowe’en!) – is making me think about the Winter Haven KAL coming up in January. Yes, yes, I know that Socktember has only just finished but my thoughts are turning to my next Knitalong which is the one that specifically focuses on self-care and recharging after the holiday season.
Now, there’s a good chance that reading this blog you are a sock knitter, a knitter of other projects, a crocheter or another form of crafter, and all of those things are excellent forms of self-care but this year, I’ve got something else to try. What about painting by numbers?
It’s always been a great disappointment to me that my Mum, who was an artist, didn’t pass her skills on to me (my girls are good at drawing, though, so they did go somewhere) so when I got an email from Marcus at Paint A Moment asking if I would like to try out one of his paint by numbers kits – well, here was an opportunity for me to be an artist after all! I didn’t have to think for long before replying to the email!
Paint a Moment is a company which creates paint by numbers kits. You can choose from ready-made kits from easy to advanced skill levels, or you can use one of your own photos to be turned into a kit. You can even use their free template generator to create your own layout map if you’ve got the paints and canvas and don’t need the rest of the kit. I’d never seen anything like this before but it means that anybody can create a template and paint any picture they like and be an artist, whether they inherited skills or not. After all, natural talent can only get you so far and you still need to practice, and anyone can practice!
After a couple of emails exchanged with Marcus, I decided to go with one of my own photos rather than the ready-made kit. There are lots of really lovely kit pictures and I was a bit spoilt for choice but in the end, I thought that a really good test of the kit to show you would be to use one of my own pictures so I chose this one:

You might well have seen it before as I use it a lot on the Winwick Mum blog and it’s one of my favourites, with the sunlight streaming through the trees. There’s a lot of green in there so I was interested to see what the template generator would make of it, too!
Not much time later, a box arrived. I was expecting a flat box for some reason but this is far better to be delivered through the post. Astrid thought so as well, although she said she hoped I wasn’t expecting her to help.
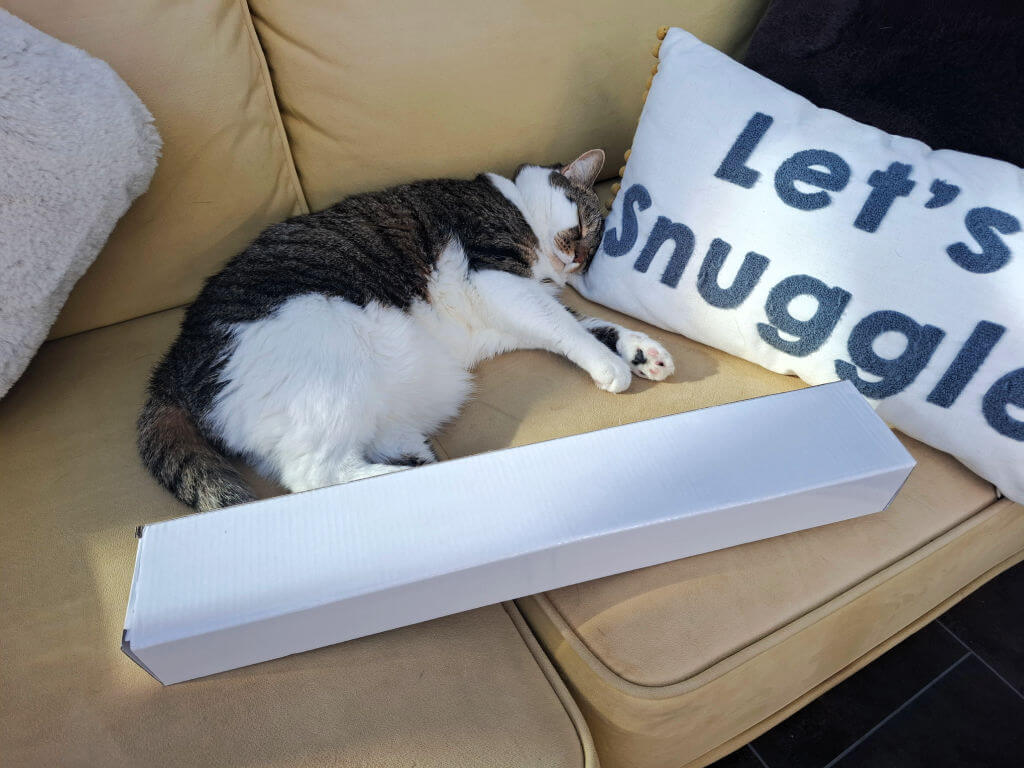
Aha! It must be rolled up! I still wasn’t sure that everything I needed would fit in that box, though – but look, it did!
The skill level of the picture you choose determines how many paints you get and there’s a LOT of green in my picture so I have a lot of paint! The kit includes the printed canvas and a template sheet, acrylic paints, brushes and a small image of what the painting should look like when it’s finished.
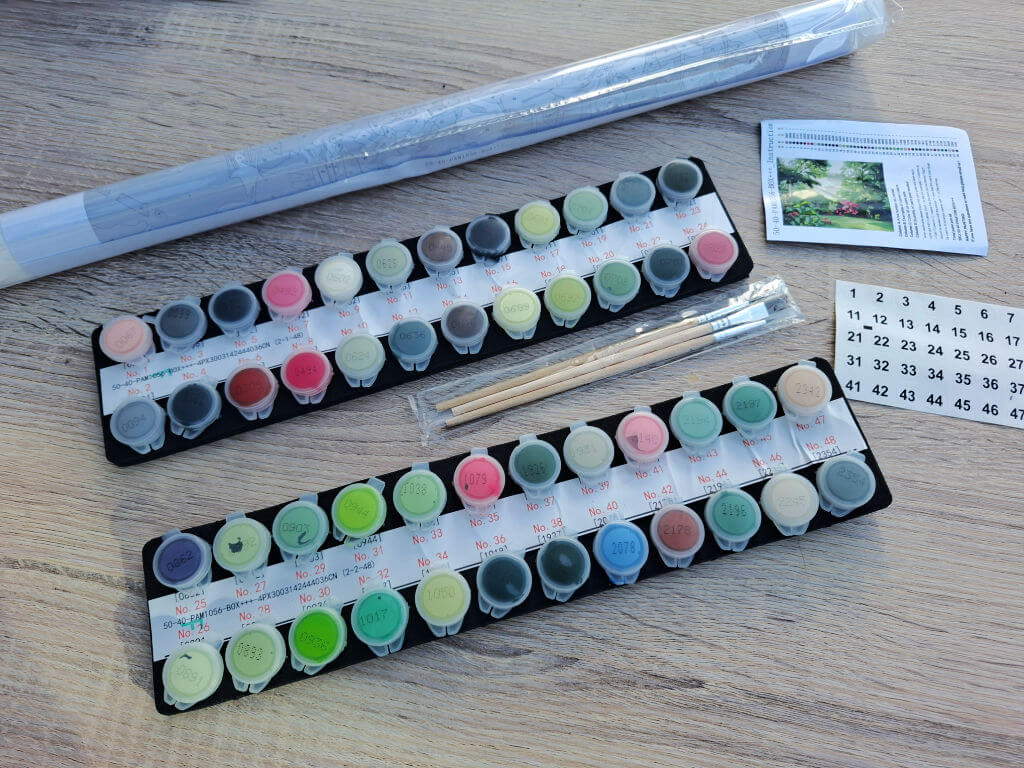
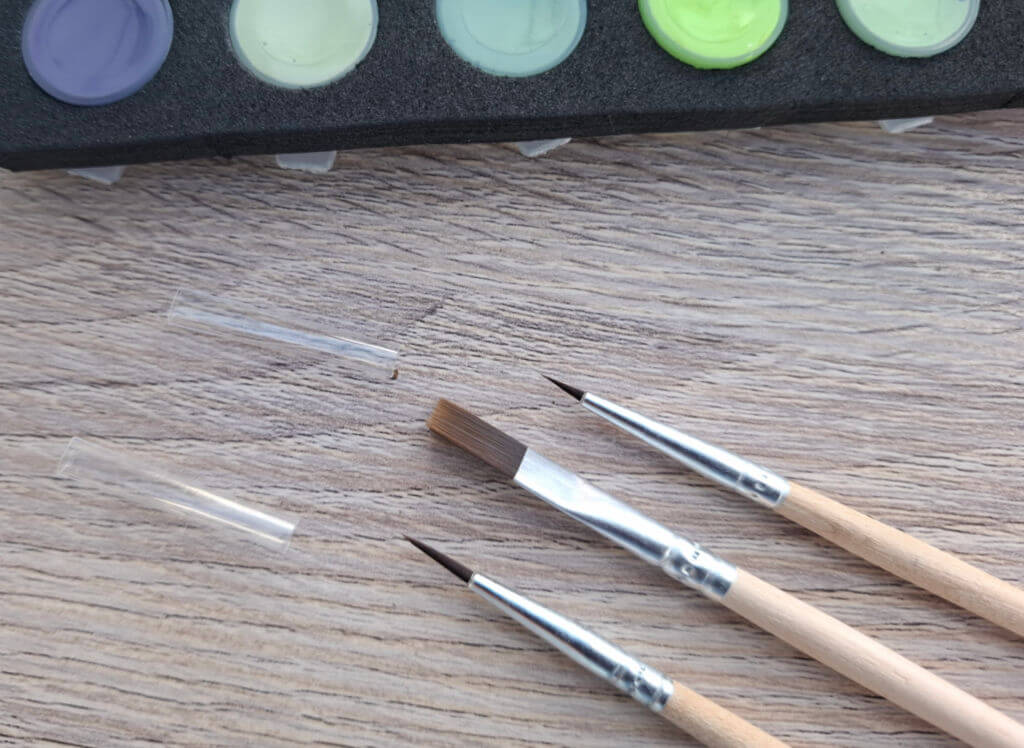
There are three brushes included …
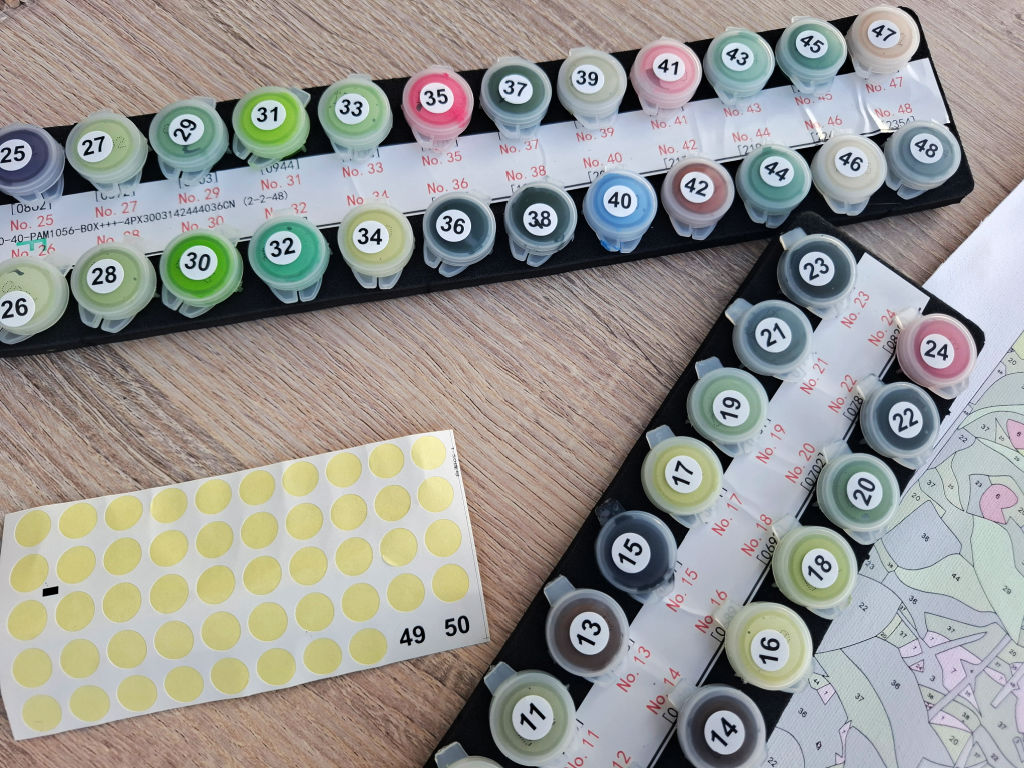
Numbers to stick on your paint pots to help see which is which …
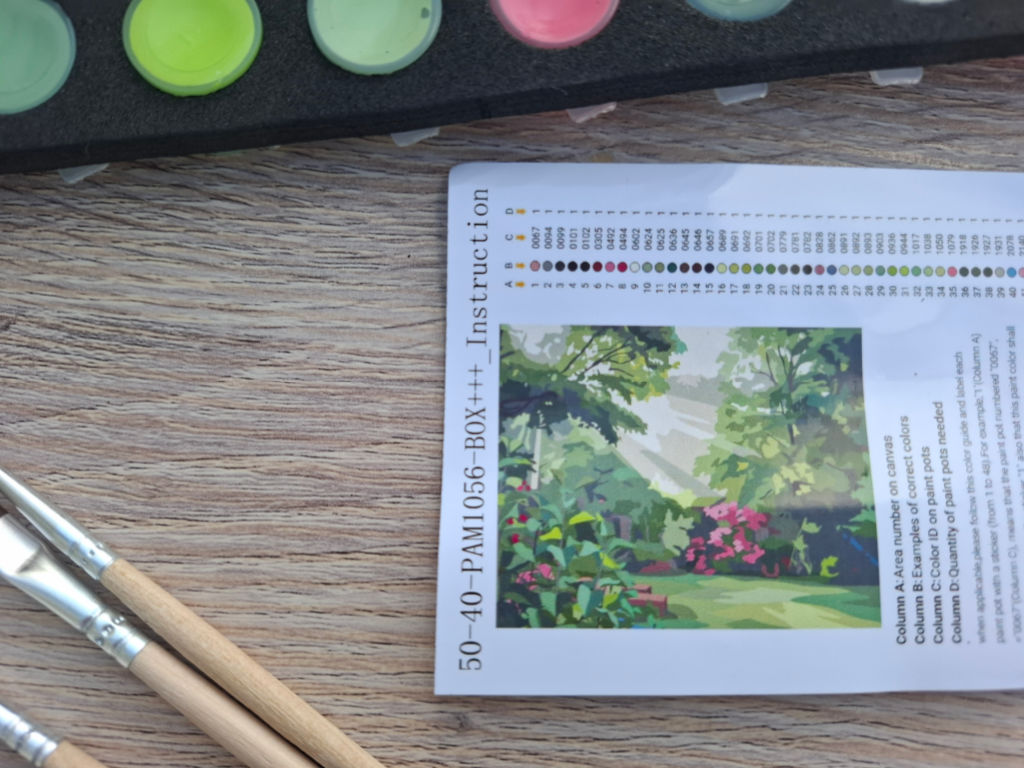
A small picture of what your painting is going to look like. You’ll see if you look at the Paint A Moment website that the pictures are often made up of big blocks of colour rather than a million different shades and I like that.
Finally, there’s the canvas itself, along with a paper template printout. Some of the shapes are really tiny so I think this will be useful if I’ve got any shapes where I can’t see the numbers – quite likely if I find that I don’t stay perfectly within the lines all the time!
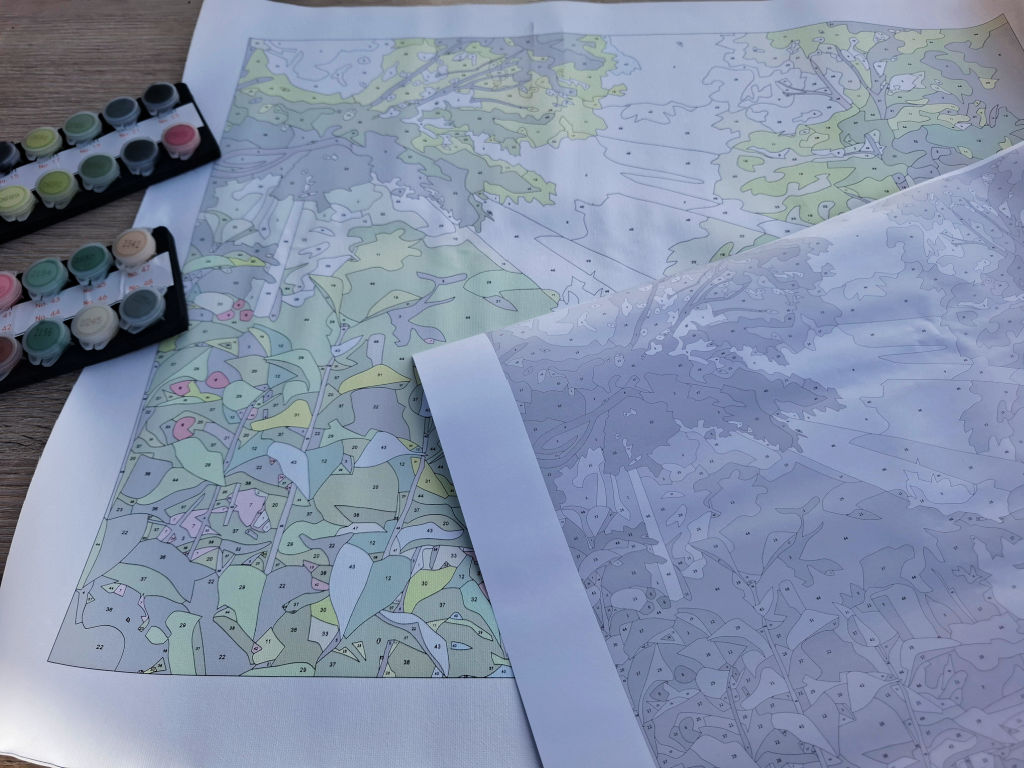
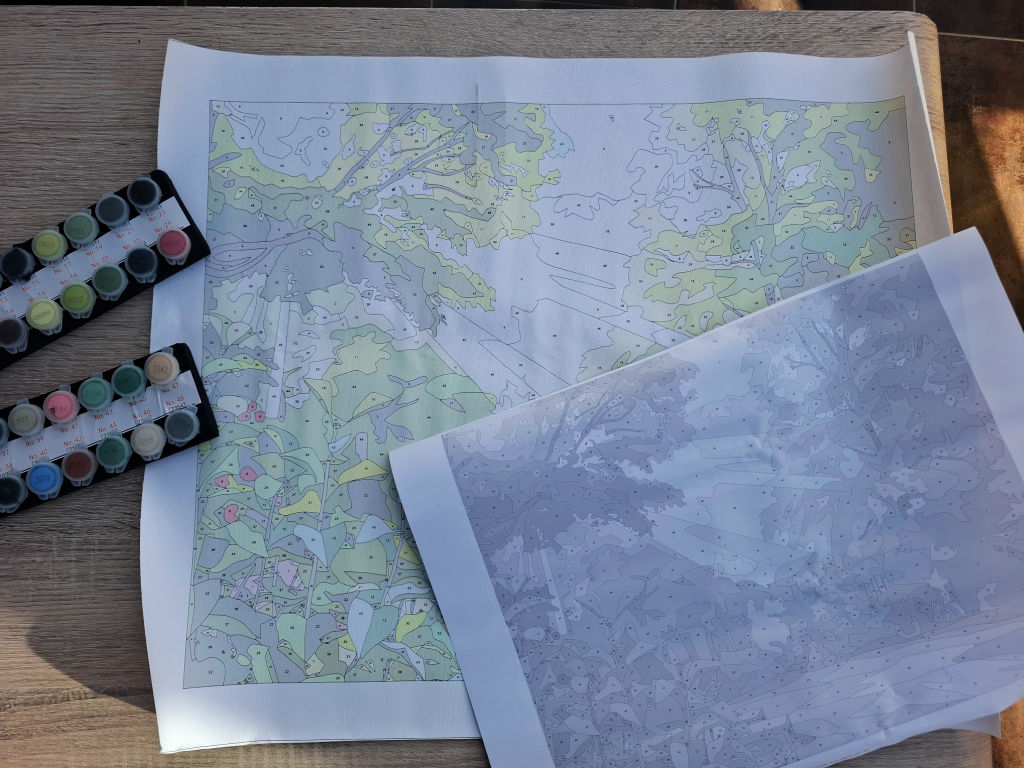
It’s a bit bigger than I was expecting and it’s wonderfully detailed – it’s going to look amazing when it’s finished!
Now, my original plan was to save this for the Winter Haven KAL but of course, that’s no good to Marcus who wants me to show it to you now and if I’m honest, once I’d unpacked it there was no way that I wasn’t going to get stuck in! One of the things that you do need is good light and at the moment we’ve still got that during the day, so I thought I’d make a start and see how I got on.
I still think this would make an excellent self-care project for the Winter Haven KAL (along with your socks, don’t be forgetting those! 😉 ) but I’ll either need to do it in the day time or make sure that I’m using my good reading lamp to be able to see what I’m doing. The good thing about all the sections being numbered and having the corresponding paints marked is that I don’t really need to see what the colour is as long as I can see what I’m doing properly. The colours have already been chosen for me so I know that the painting is going to work out as long as I put the right colours in the right places!
The FAQs on the Paint A Moment website say that it doesn’t really matter where you start, although it’s better to work all of one colour at a time. I decided to go for a darker colour that appeared in bigger blocks on the left hand side (as I’m right handed) so that I could see how the paint went on. As I said before, I am no artist and I haven’t painted anything like this with acrylic paint before. It took me a while to work out that having some water to dip my brush into helped the paint go onto the canvas, although I might still have been a bit heavy-handed with the colour. It’s meant to be a very dark green but looks black here – I’m hoping it blends in as I go along!
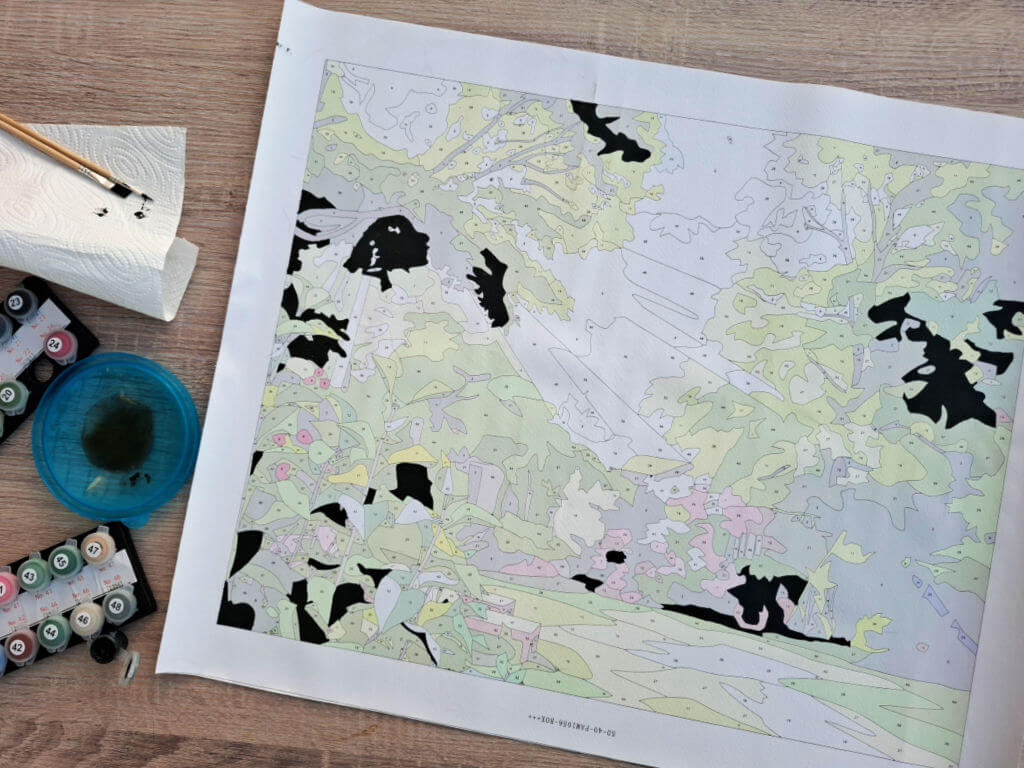
As you can see, this is big picture and it’s very detailed. It’s not a quick project and just these shapes took me a very enjoyable hour to paint. It’s very mindful as you have to think about what you’re doing, and it’s a different way of using your hands which is not a bad thing to do every now and again – if you’re anything like me, it’s way too easy to sit and knit for too long, and then wonder why my hands and shoulders are feeling stiff!
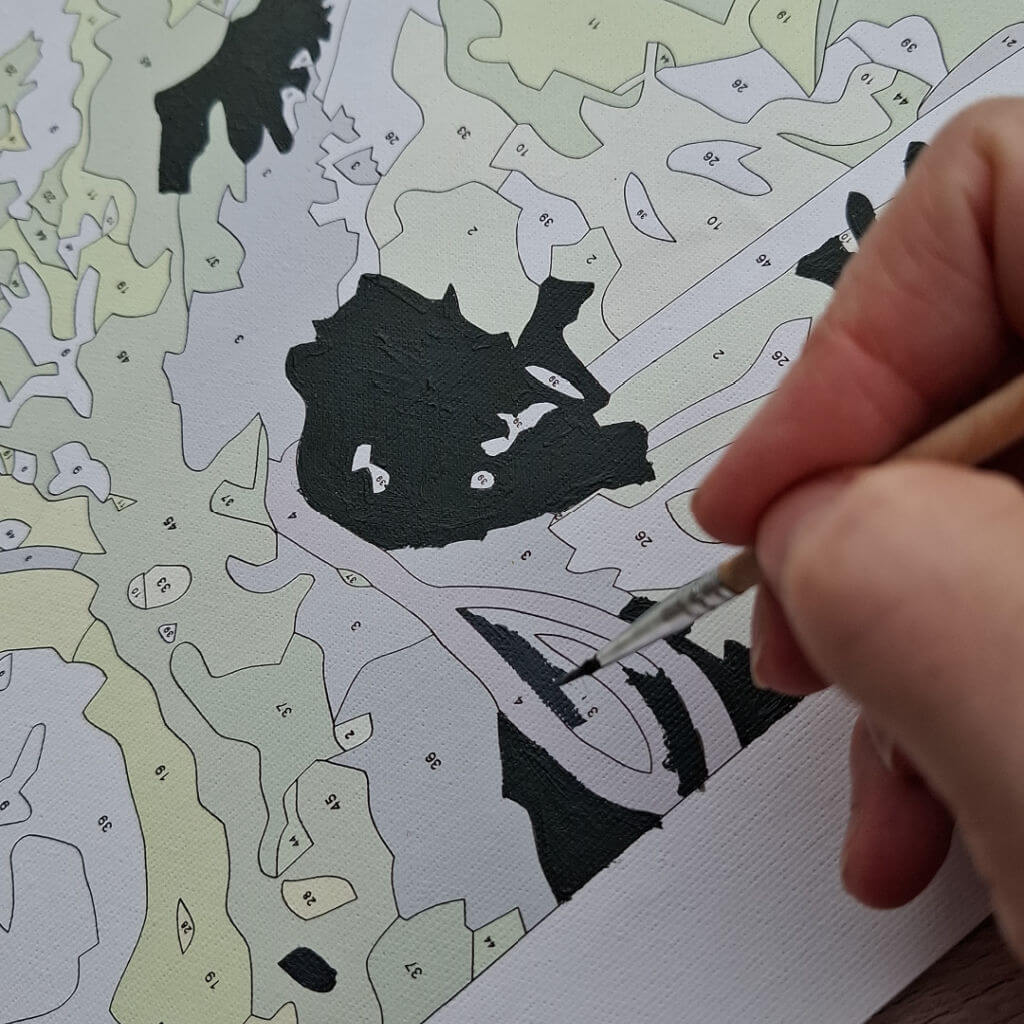
Ha! This might not be the best photo as you can see I’ve gone a bit wibbly with the lines already, but I did get better as I started to use water on my brush. If you’ve got suggestions to improve my technique, please do share! 🙂
I’ll keep going with the painting and show you my progress as I go along. I’m not quite sure how long it’s going to take me to finish, but as it’s for no one’s pleasure except mine, that doesn’t really matter. The main thing is that I finish it, and I am definitely going to do that!
Let me give you some more details about the kit in case you fancy one for yourself or for a gift. There’s often a deal on the website and there’s a loyalty scheme too if think you’re going to be a regular painter.
The website is called Paint A Moment and the company is based in Yorkshire in the UK, although they post kits worldwide and have site in the US to provide kits from there to reduce postage costs.
The ready-made kits are from easy to advanced skill level and contain everything you need to complete your painting. You can choose to have your own photo made into a kit or use the template generator to create your own picture.
Thank you to Marcus for getting in touch to offer me the painting kit – it’s not something I’d ever have considered doing before, but I am really enjoying it!